E-commerce platforms provide market expansion, revenue growth, and improved brand recognition for businesses. Planning, data gathering, design, assembly, coding, testing, and maintenance are all involved.
Without any prior coding experience, users may design, develop, and manage websites using the Odoo website module, an ERP platform.
With capabilities like attribute and variation setting, multi-sites, and a B2B store, the platform caters to enterprises of all sizes.
A real-time dashboard, customer portals, an integrated search bar, a wishlist, a checkout process, payment acquirers, an automated tax rate calculator, and shipping partners are all included. Customers can also track orders, expedite deliveries, and add preferred products to their wishlists.
Configuring the Shop-Checkout Process Settings
With the Odoo Website Module, Odoo’s intuitive interface makes for an effortless buying experience. Users can start purchasing straight from the homepage after installing the Odoo platform website module.
The Website platform’s configuration menu can be used to configure the shopping site settings, e-commerce requirements, and website requirements.
Users can customize the shopping cart and checkout processes with the Shop-Checkout configuration settings. This involves customizing sign-in/sign-up processes, add-to-cart functionality, and other checkout-related elements to customize the online shopping interface based on individual preferences.
There are several choices accessible in the Shop-Checkout settings category, including.
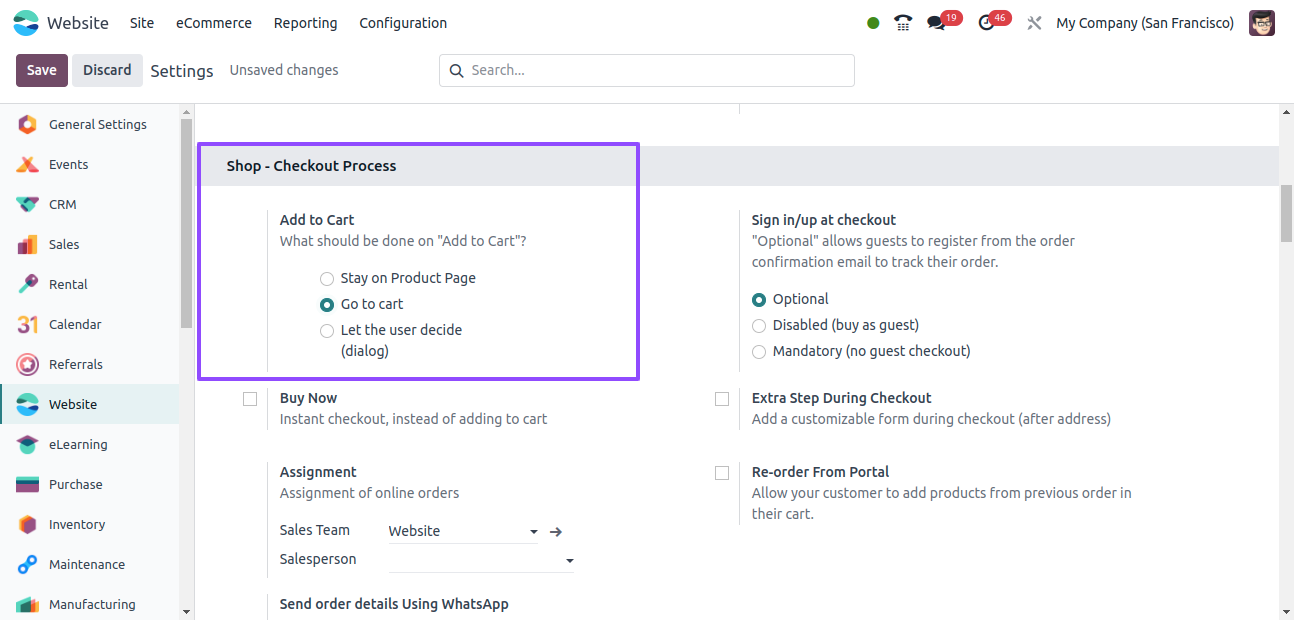
Add to Cart: When users click the "add to cart" button, they are presented with three options.
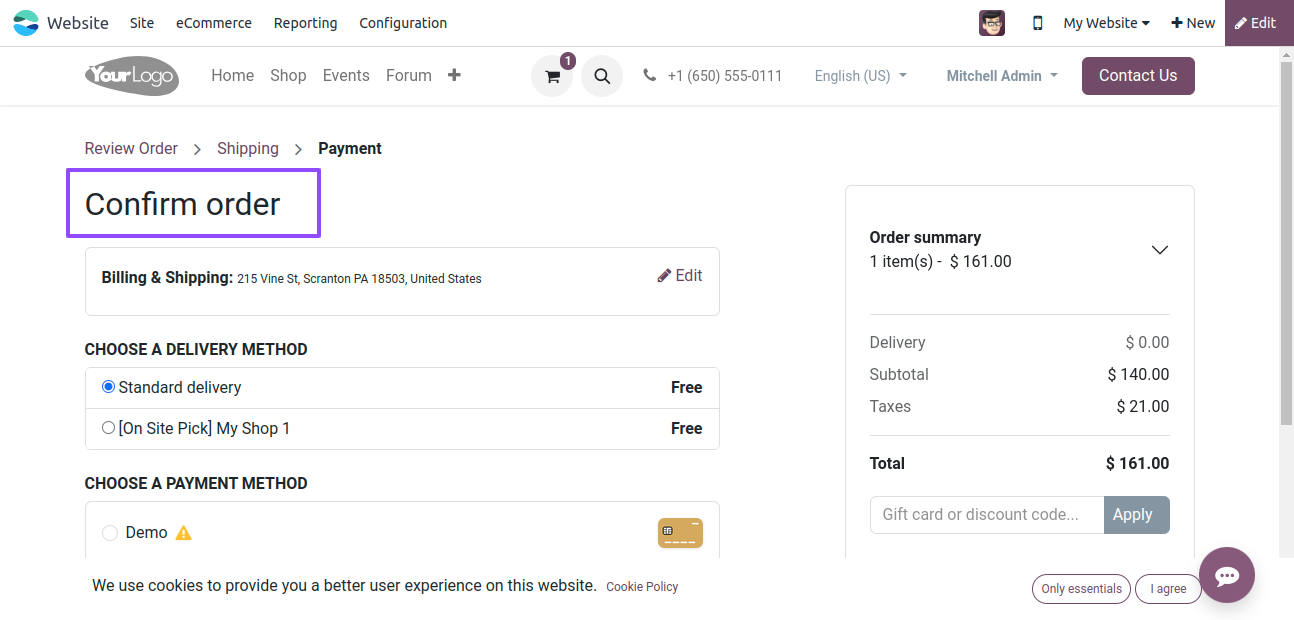
Buy-New: When this option is chosen, the product is added to the cart right away, and the checkout page is redirected to complete the payment process.
Digital Content: After the checkout procedure, users can provide URLs for downloads.
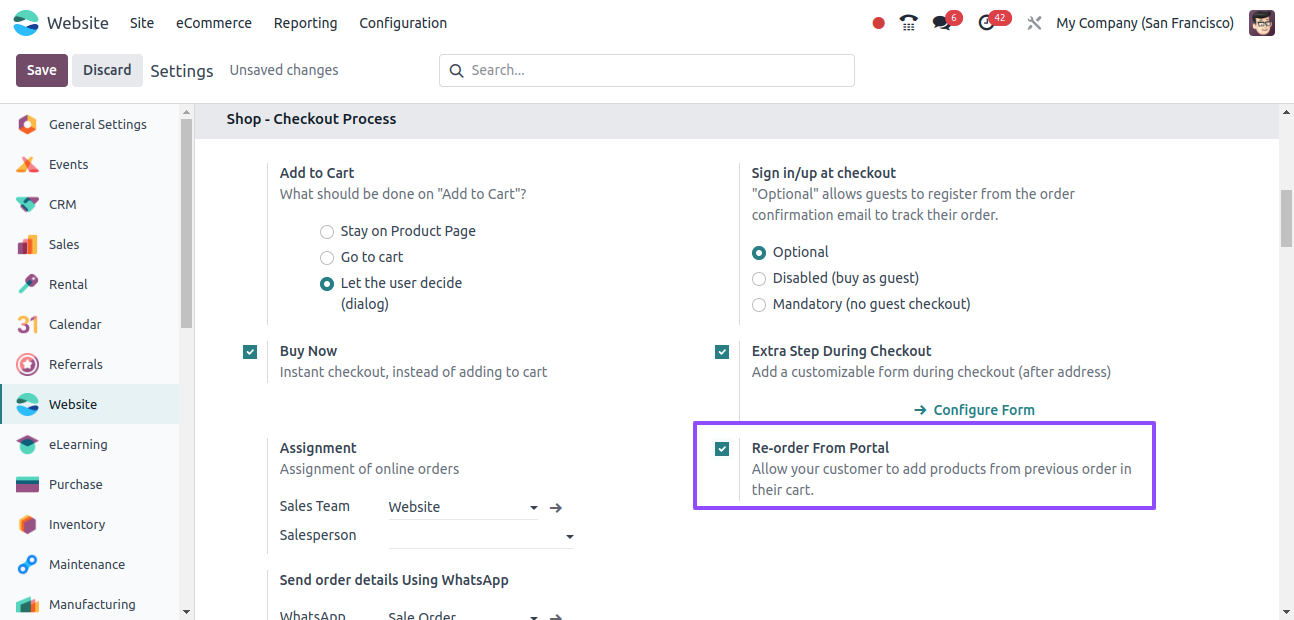
Re-order from Portal: Customers can place new orders based on products from previous sales orders via the customer portal.
Sign in/up at Checkout: Customers can check out as guests or as signed-in users with this option. If enabled, guests can subsequently decide to register to follow their orders.
Extra Step during Checkout: This feature will include an editable form instead of the address information as an additional step during checkout.
Assignment: Assign the specific order to the website and online team that has been selected.
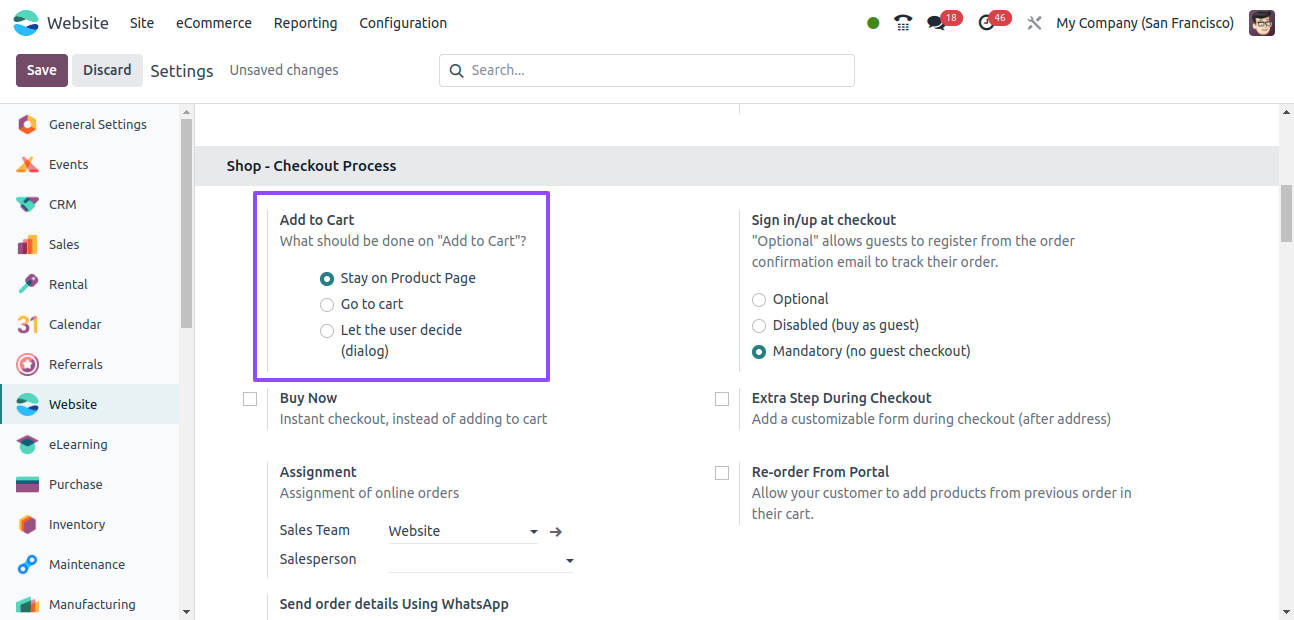
Add to Cart
Users can customize their shopping cart experience with a variety of options available through the ‘Add to Cart’ capability found in the Shop-Checkout settings category.
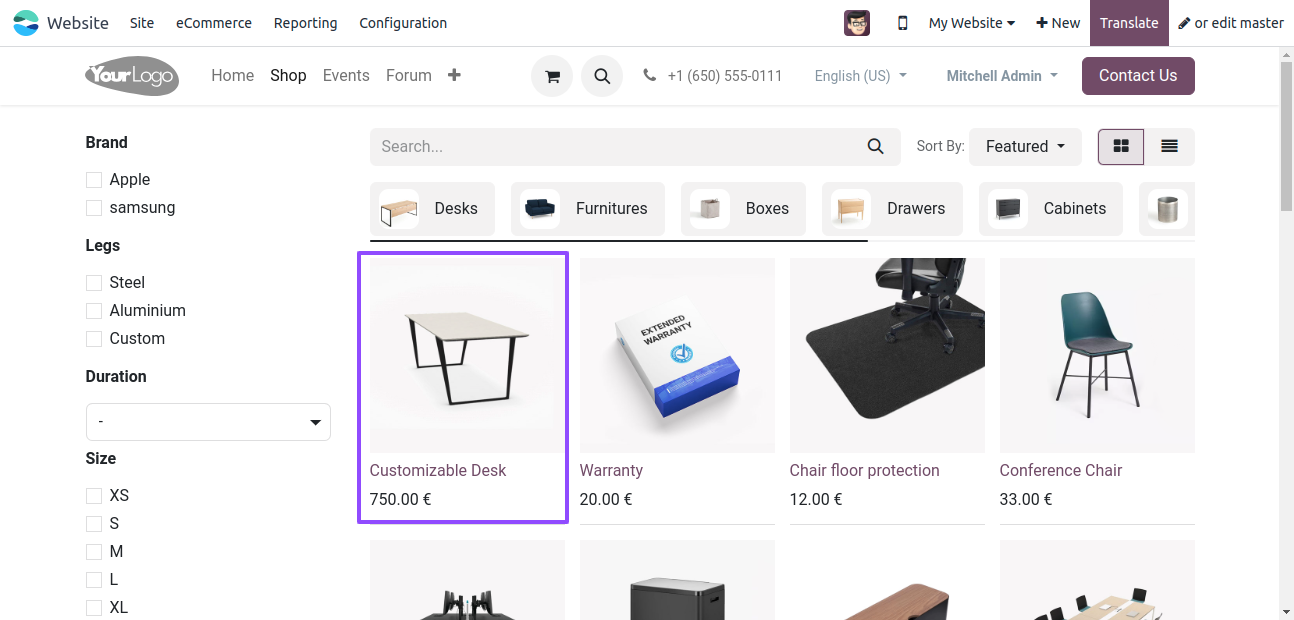
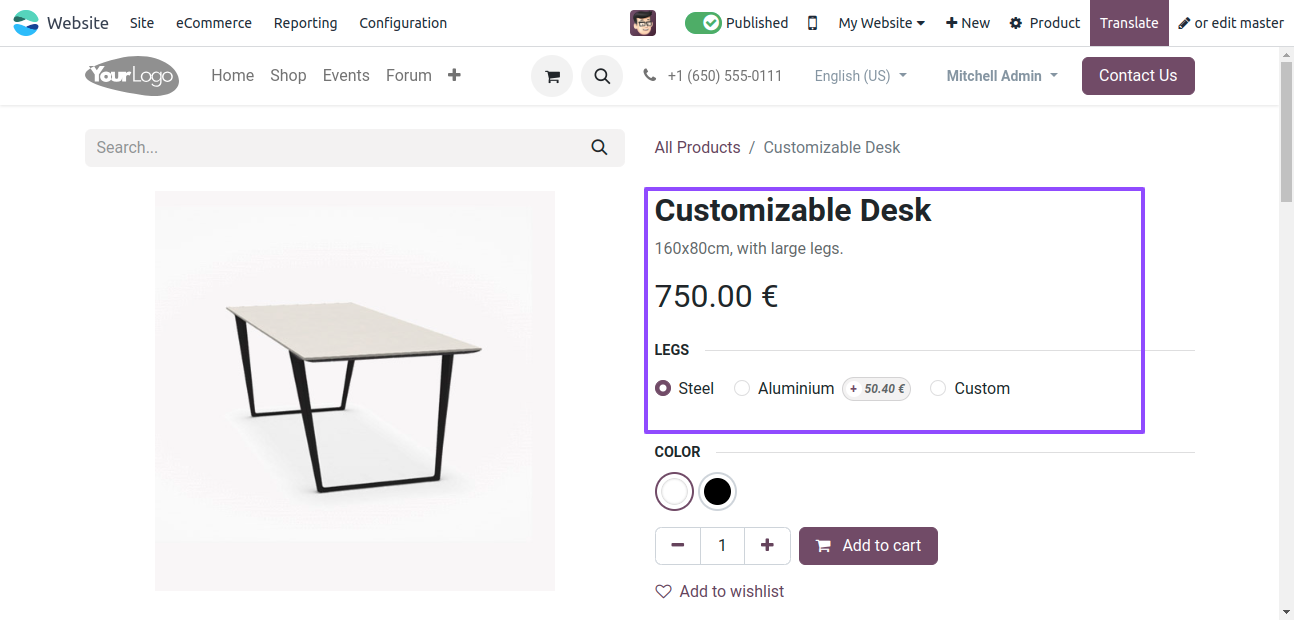
Let’s use the purchase of a ‘Customizable Desk’ product as an example to demonstrate this process. Users are shown the alternatives listed above when they choose the product from the homepage of the website.
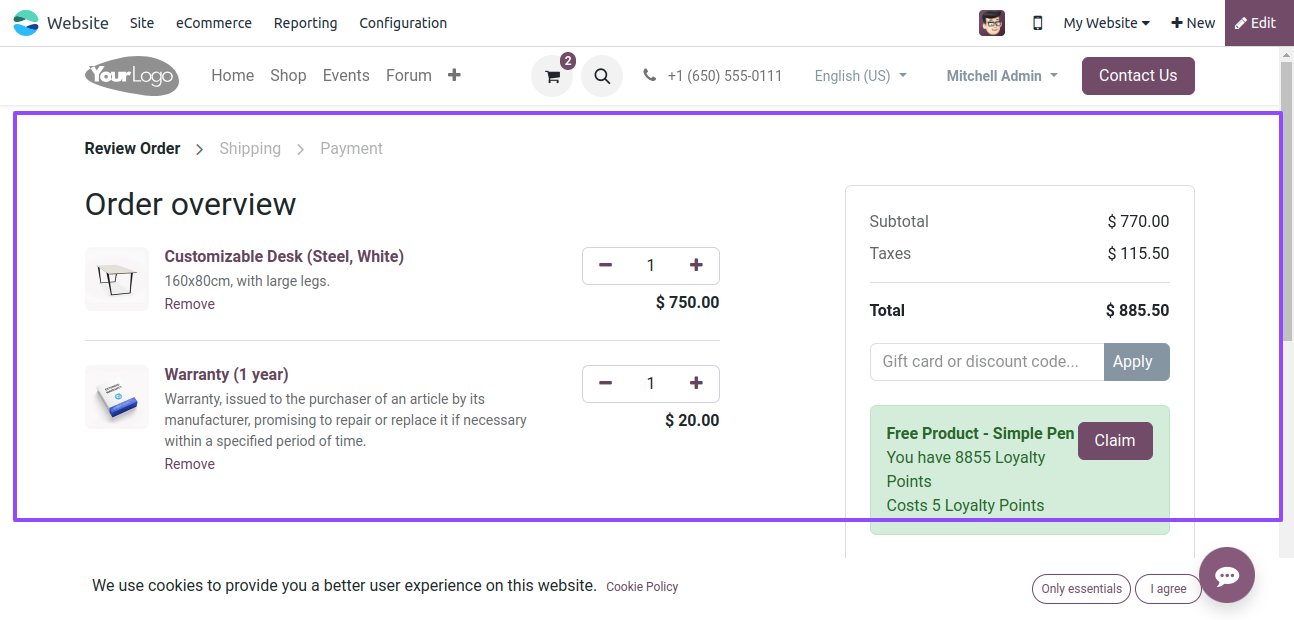
If consumers decide to remain on the product page, they may easily add more products and browse more. On the other hand, choosing to proceed straight to the cart enables a quick checkout procedure.
Lastly, giving the user the freedom to choose gives them command over their purchasing experience.
Here's a detailed exploration of each option:
Stay on the Product Page
- Customers who check this option will continue to see the product page after clicking "Add to Cart." The chosen item will be quietly added to their shopping cart.
- Without being taken off the product page, customers can keep browsing and adding more things to their cart.
Go to Cart
Modify the Add to Cart option in the settings Settings window, as indicated below, to activate this feature.
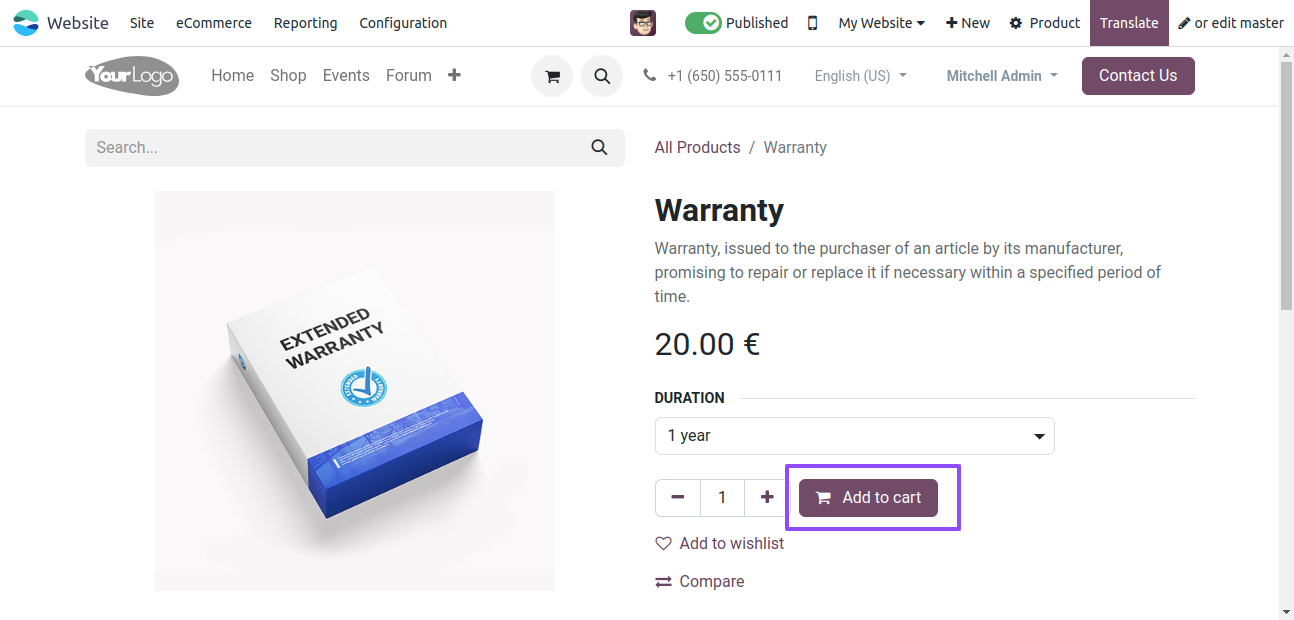
It offers a simple way for clients to check their choices and quickly check out.
Let the User Decide
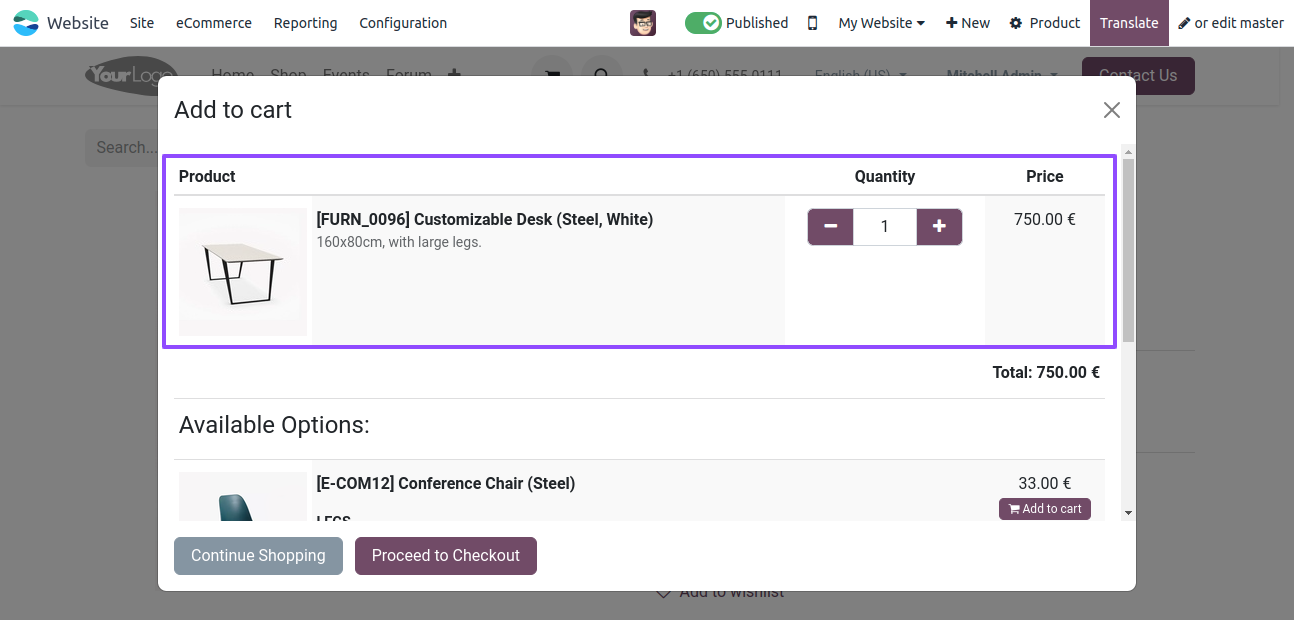
Proceed to shop for a product after changing the Add to Cart option in the Settings window to Let the User Decide, as illustrated below.
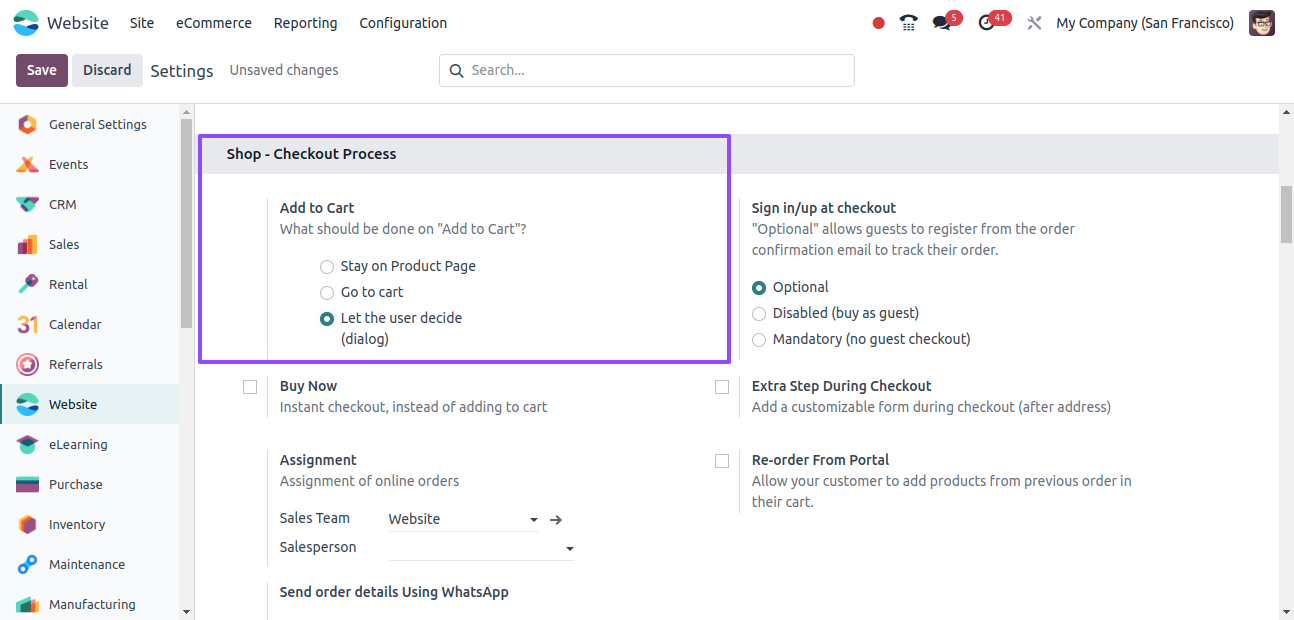
Let’s pick "Chair Floor Protection" as the next product.
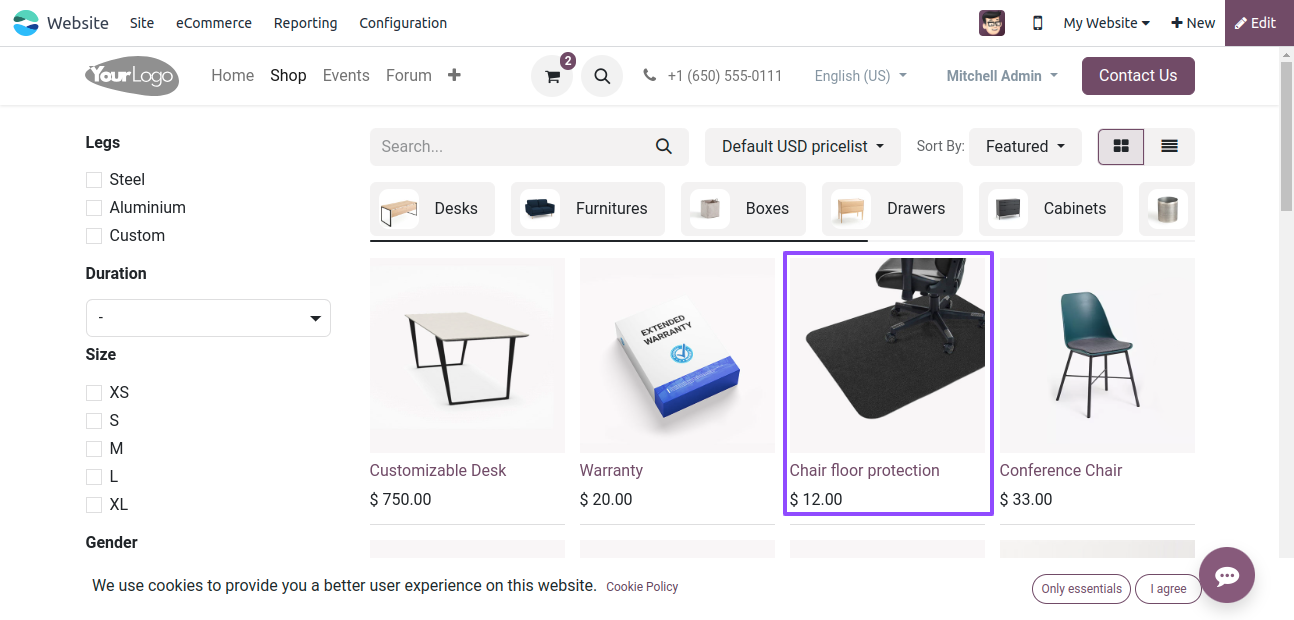
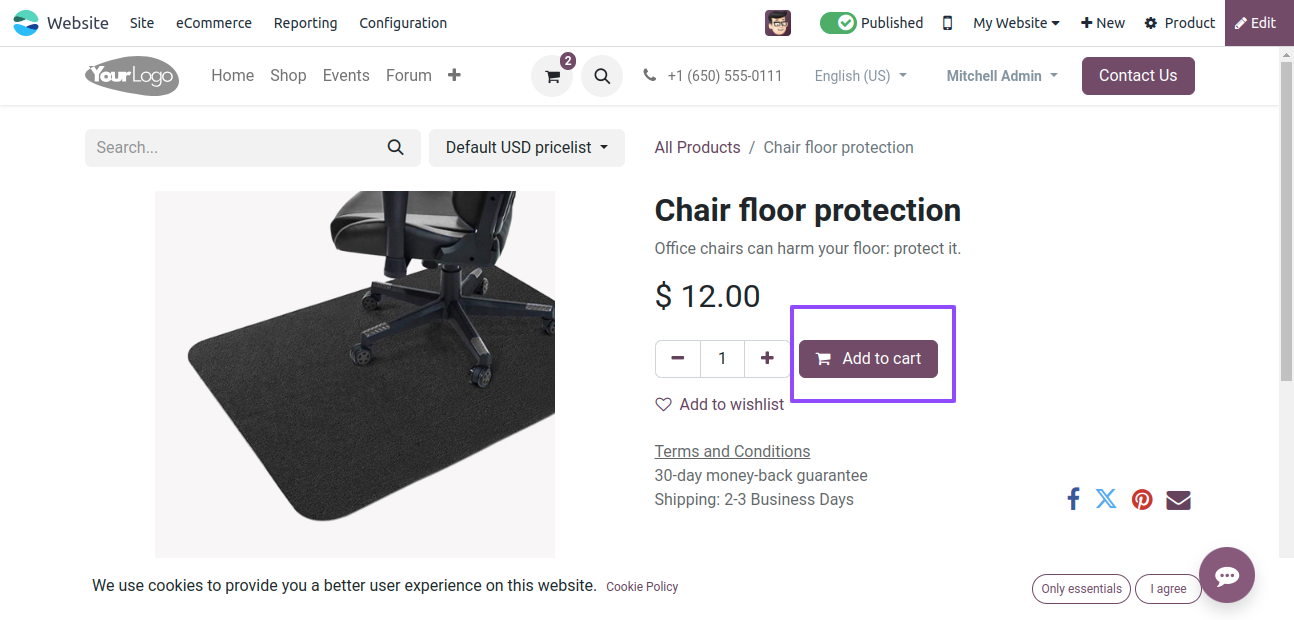
Selecting this option causes a dialogue window to open once you click "Add to Cart."
Here, users select the choice from a dialogue window, as seen below, to continue to the product page or to check out.
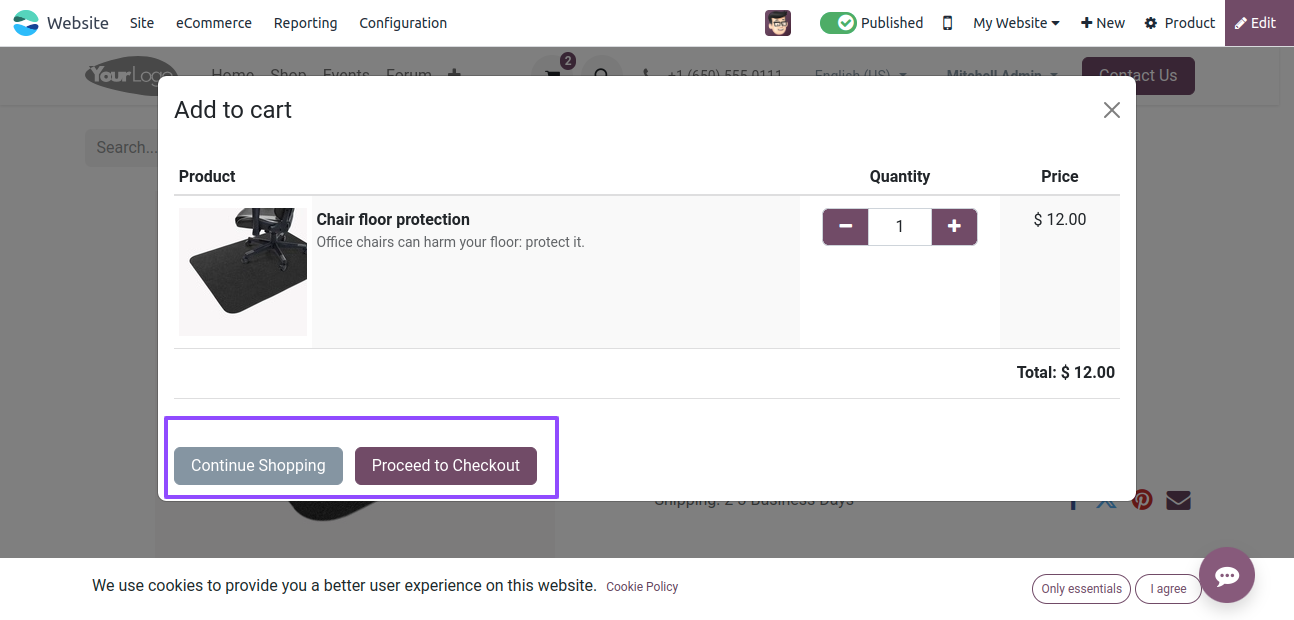
Customers are given the freedom to select their desired action, which improves their overall buying experience.
Sign in/up at Checkout
By changing the "Sign in/up at Checkout" options in the Odoo website module, businesses can choose whether to require customers to sign in or create an account during the checkout process.
This tool streamlines transactions, enhances user experience, and helps businesses build customer relationships, manage orders, and personalize the purchase experience.
The Settings window's "Shop-Checkout Process" tab location is another place to enable the "Sign in/up at checkout" option. As seen in the screenshot below, this function offers three options: optional, disabled, and mandatory.
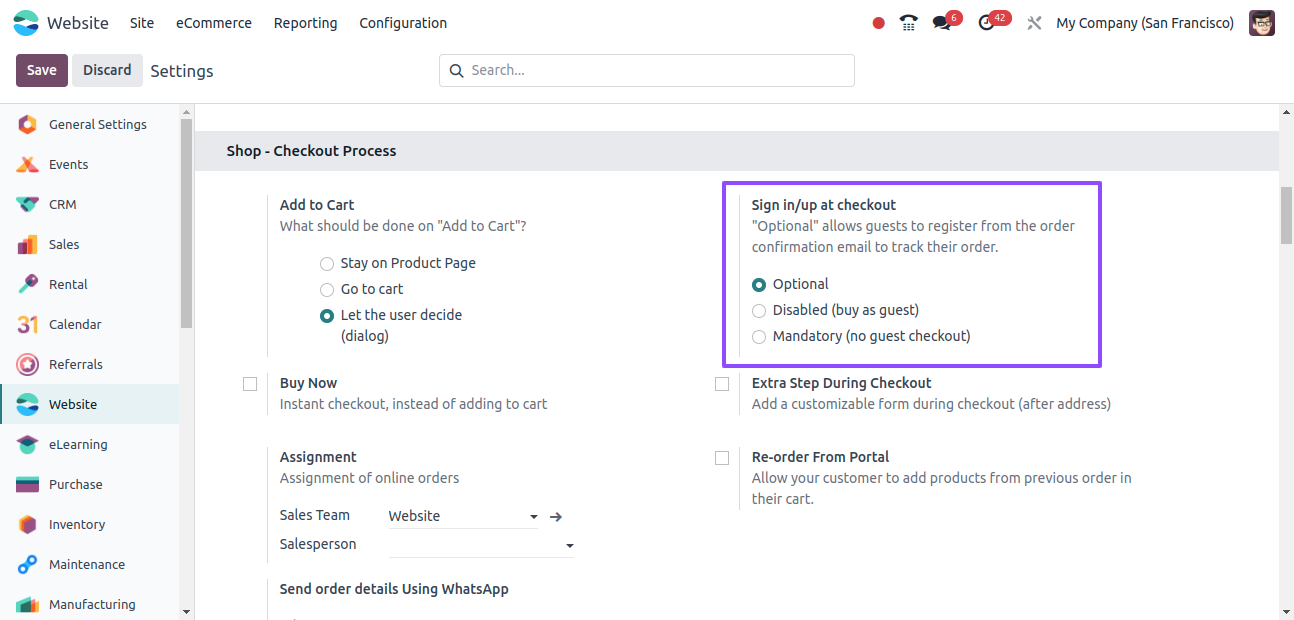
Optional: While it's not required, activating this option enables users to register their login credentials on the website's order confirmation page and carry on with their shopping session.
Disabled: For casual customers, the checkout procedure is made simpler by allowing users to make purchases without having an account.
Mandatory: To ensure accountability and authentication, online users must log in with their credentials before placing orders.
Buy Now
By directing consumers to the checkout page without first needing them to add anything to their shopping basket, enabling the "Buy Now" option also speeds up the checkout process. This is the best option for those looking for a speedy transaction.
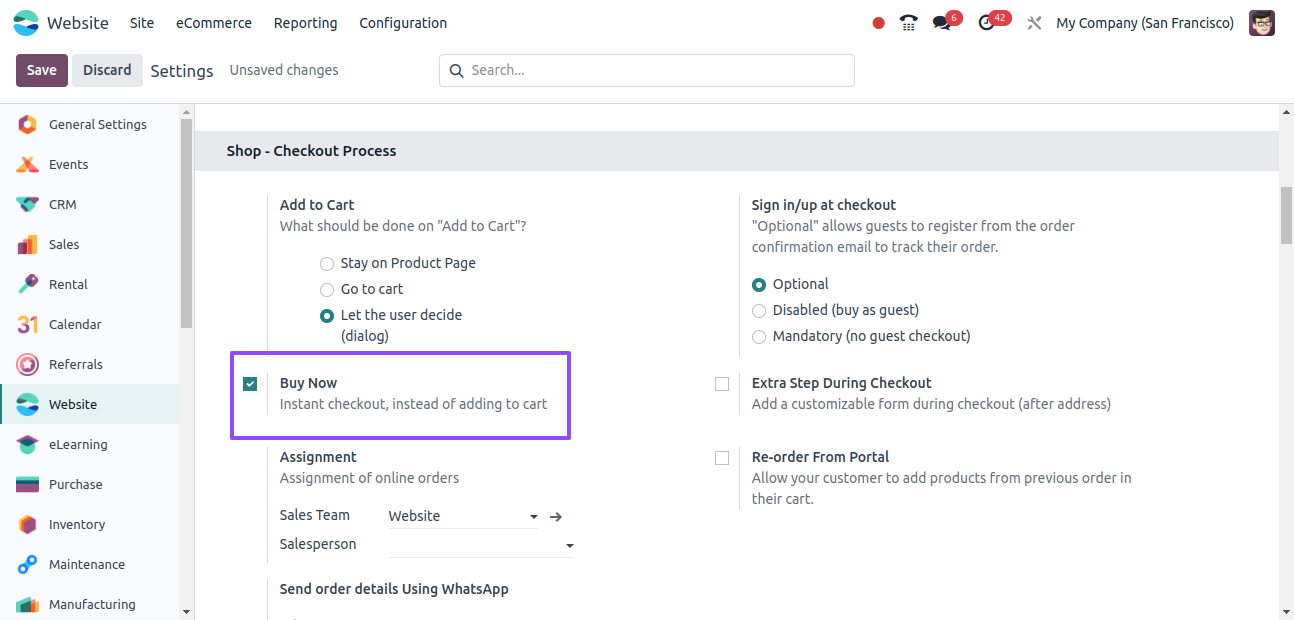
Once the option has been enabled in the settings window, save the modifications so that we may examine the functionality from the online purchasing session, as illustrated below.
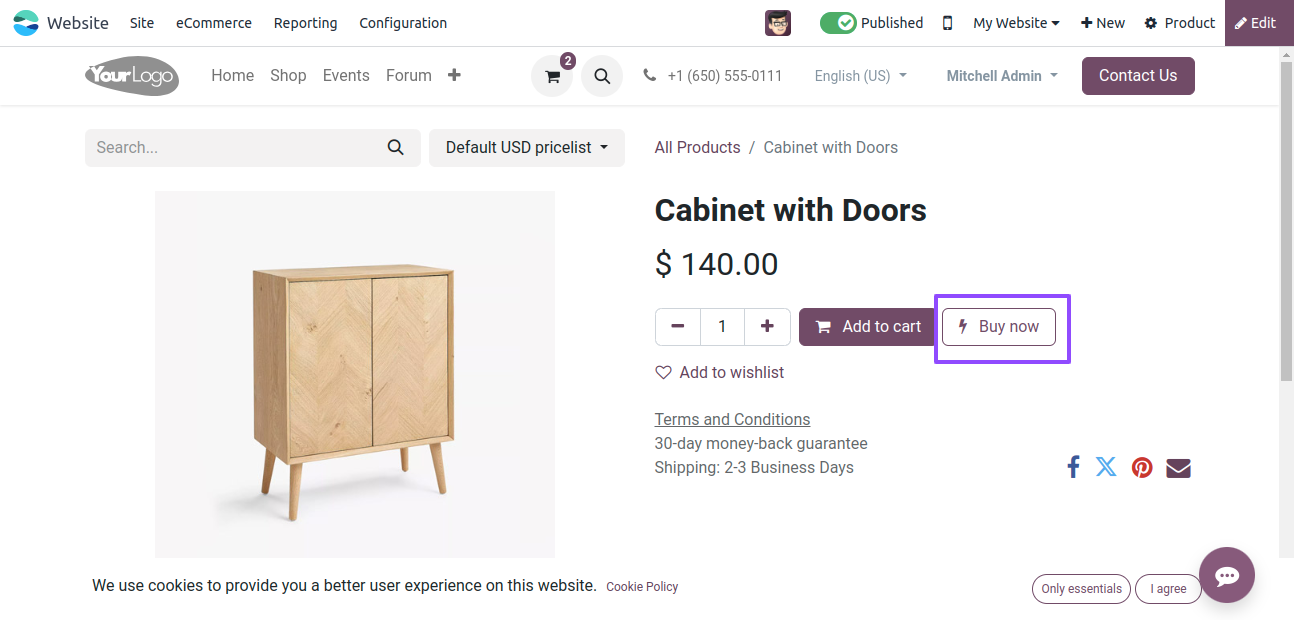
Clicking the Buy Now button will take you to the page where you may confirm your order, as seen below.
Re-order From Portal
Users can quickly and efficiently duplicate prior orders by using the "Re-order From Portal" option. Adding items to their shopping carts for subsequent purchases is simple for customers when they use relevant data from past orders.
In an additional "Extra Step During Checkout," users have the option to add a customizable form following the address field.
Businesses can use this tool to collect more data from customers, which improves the speed and personalization of the checkout experience.
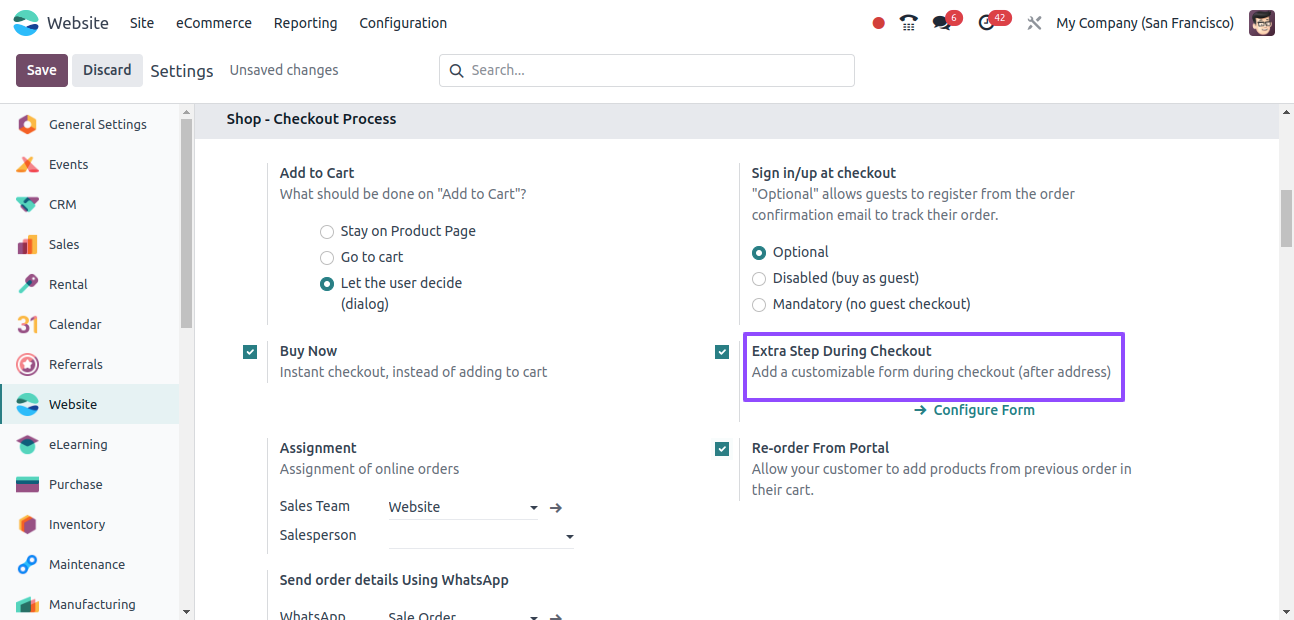
When the option is selected, a "Configure Form" link will appear, which can be used to create the additional step form view.
Clicking on this link will take you to the website's form editing window, as seen in the screenshot below.

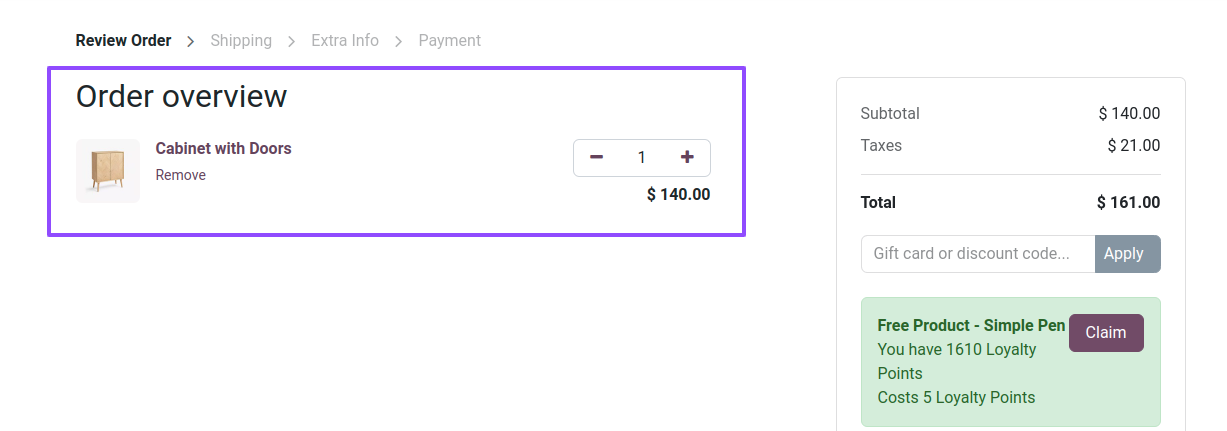
Once the order has been reviewed, we can use the Checkout button to complete the checkout process. The Extra Info page will then appear, as seen below.
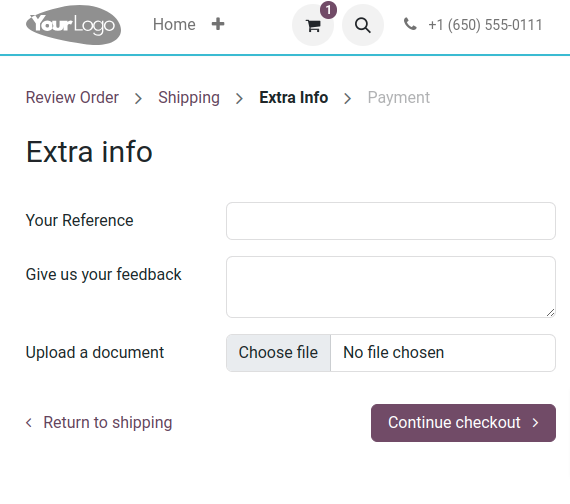
After the extra information has been input into the form fields, we may click the Proceed with Checkout option and proceed with the standard payment processes.
Assignment
Lastly, to ensure smooth order administration, admin users can assign the accountable sales team and salesperson for online orders by using the "Assignment" option.
As shown in the screenshot below, enter the name of the salesperson and the sales team in the appropriate boxes located inside the Shop - Checkout Process tab location.
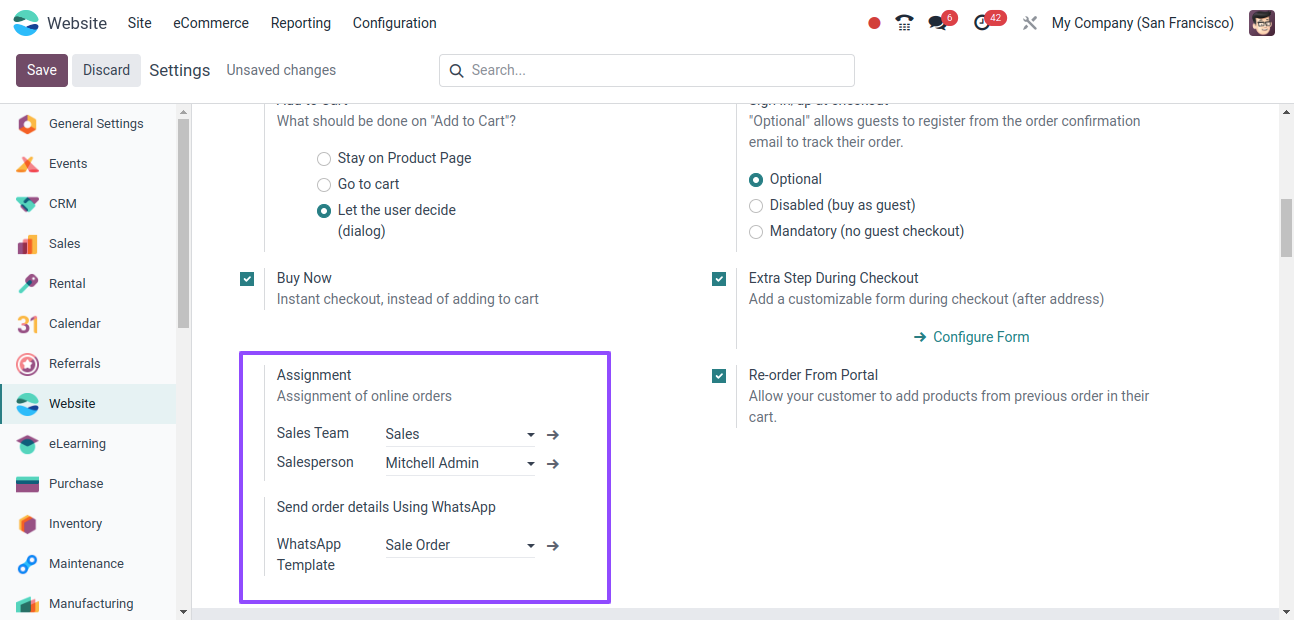
This feature makes it easier for users to understand which sales representative and team is in charge of a given internet order.
In conclusion, the Odoo Services has a Website Module's Shop & Checkout process settings that provide a wide range of customization choices to improve the online buying experience for both companies and consumers.
Users can customize their websites to match unique needs and preferences by using these settings, which can streamline the checkout process and acquire vital client information.
