In today’s continuously changing business world, the demand for comprehensive and effective POS systems is greater than ever. Odoo, a comprehensive and integrated business management system, stands out for its strong POS module.
In this blog, we’ll look at the intricacies of designing restaurants in Odoo 17 POS, which opens up a world of possibilities for efficient operations and improved customer experience.
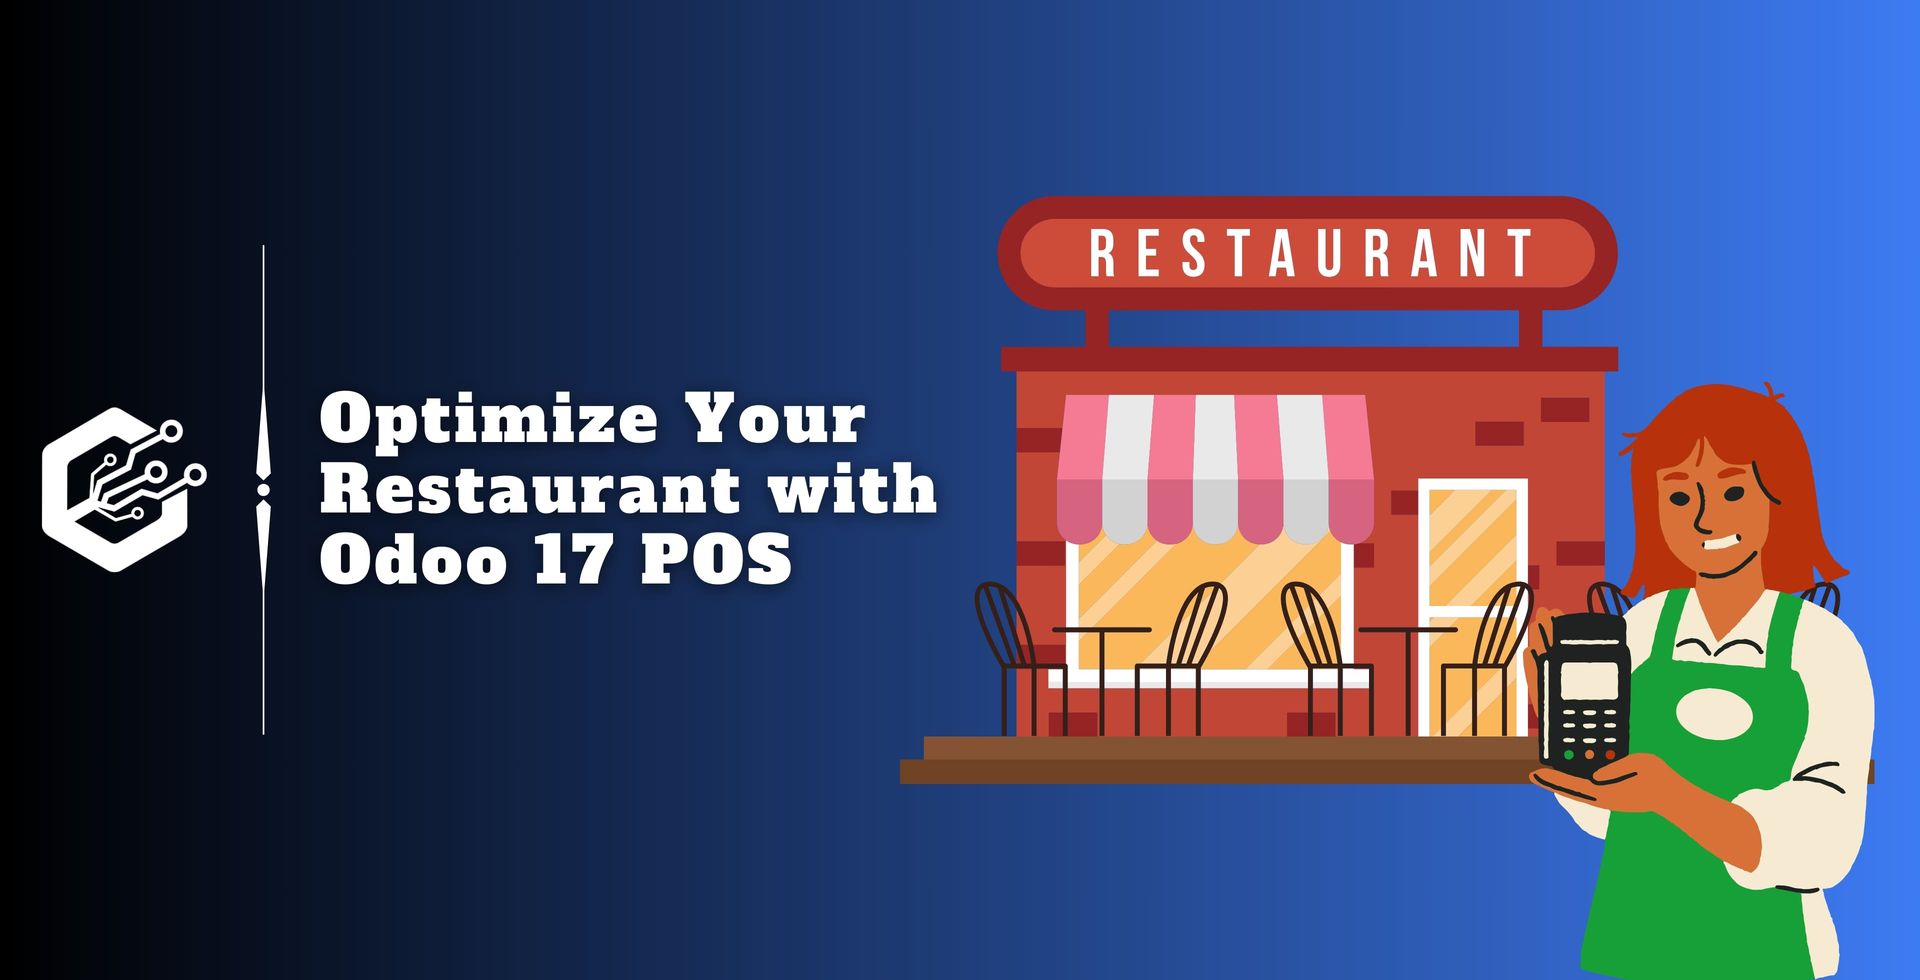
Businesses in the hospitality sector, particularly restaurants, may benefit from Odoo’s POS module, which provides a seamless and simple user experience.
Odoo has released version 17, which includes various additions and refinements, resulting in a more complex and feature-rich POS system.
Setting Up Your Restaurant Profile
The first step in setting up a restaurant in Odoo 17 is to create a restaurant profile.
Go to the POS app and select the ‘Configuration’ tab. This profile section allows you to add and modify your restaurant’s name, address, phone number, and other information about your operation.

To create a new shop, click the ‘+New Shop’ button, enter the store name, and specify whether it is a restaurant or not in the pop-up box that appears as shown below.

Next, save the restaurant name by clicking the save icon. Next, use the ‘Dashboard’ field to view the newly created restaurant interface from a Kanban perspective.

When you click the ‘New Session’ option to view the restaurant session, the floor plans are displayed below.

Configuring Floor Plans and Tables
To begin floor and table management, we can easily add floors and tables within the POS interface. This feature enables the selection of floor settings and the grouping of orders according to the selected tables.
To enable floors and tables, go to the POS interface and open the ‘Floor’ box. Once levels have been built, the following step is to create tables for each floor.
This is accomplished by opening the floor settings and defining table layout, seating, and form. Before saving the configuration, ensure the configured floor plan is closely linked to the corresponding POS.

Click the ‘New’ button to build or manage new floor plans and tables, as shown below. Provide the floor name and the POS session in the proper field. I’ve chosen the ‘Delight Restaurant’ for the POS session.

Creating Tables, Seats, and Shapes
The POS interface allows you to further customize the floor plan using a dedicated edit button. This feature allows users to reposition tables, add new ones directly from the interface, and change the parameters.
To enter table information, click the ‘Add a Line’ option. A pop-up window will appear as a result, as seen below.

Simply enter the Table Name and Number of Seats into the applicable fields and save the table data by clicking the ‘Save’ button. I’ve made some tables with four seats for demonstration purposes. The table data can be viewed via the Floor Plans configuration form below.

After you’ve finished designing the restaurant floor, open the interface and link it to the POS, then save the changes. To change the floor layout, select the ‘Edit’ button from the three-lined options located in the upper right corner of the POS interface, as shown in the image below.

The interface also allows you to delete tables, add new ones, duplicate existing ones, and rename them using the DELETE, TABLE, COPY, and RENAME buttons. The SEATS and SHAPE buttons allow you to change the shape and size of the table seats.
If necessary, use the ‘Add Floor’ button to build more floors for your restaurant session.
Order Registration and Management
Efficient order management is an important part of effective floor and table management. Users can easily place orders for individual tables by selecting the appropriate table from the floor plan.
I’m using Table 2 to request a sales order. This action takes users to the orders window, where they may add billing products, specify amounts, and set the number of guests for each order.

Select the appropriate products from the order menu. The data box on the left side of the page displays product specifications as well as item total rates.
Order Transfer and Simultaneous Orders
In situations where clients change tables after placing orders, the order transfer capability is important.
Users can use the ‘Transfer’ button in the main interface to effortlessly transfer orders to the new table, preventing confusion.
Clicking the Transfer button opens the floor’s tabular view. As a result, you can relocate this order from one table to another based on the customer/ guest’s needs.

Also, Odoo allows users to register many orders at the same time by clicking the ‘Order’ button and navigating between them from the floor plan.
Bill Splitting
Restaurants sometimes experience scenarios in which bills must be distributed among visitors. Odoo streamlines this procedure by including a bill-splitting option in the billing interface. You must enable the 'Allow Bill Splitting' option within the options box, as seen below.

Once enabled, the Dine-in guests and split buttons are available, allowing users to create order lines for each visitor and process payments separately. Pressing the ‘Split’ button will bring up the bill-splitting window, as shown below.


You can split the bills for each customer/guest based on their preferences. After selecting the bill, click the ‘Payment’ option to begin the payment process.
Tip Addition
Allowing consumers to add tips to their payments is another clever feature of Odoo POS. If you enable the 'Tips' option in the POS settings, you can insert the tip as a product and add it to the bill during payment processing.
If you have any tip products configured, select one from the ‘Tip Product’ box after enabling the option; otherwise, create a new one from the POS products menu.

Guests can turn their spare change into a tip using the restaurant’s POS system. I contributed $2 as a tip directly from the payment interface by clicking the ‘Tip’ button and entering the amount into the provided pop-up wizard.

The additional tip amount becomes an element of the total sum that the customer must pay.
Customer Note
The 'Customer Note' function enables waitstaff to provide special instructions and messages from customers regarding ordered items, resulting in increased customer satisfaction.
The 'Customer Note' button will display a little pop-up window where they can edit the brief notes regarding their order, as seen below.

The ‘Add’ button allows you to edit and save your notes. Then it can be shown under the order item, as shown below.

Adopting these traits can help businesses improve customer satisfaction, boost operational efficiency, and preserve a competitive advantage.
Printing and Integration
To improve communication between the front end and the kitchen, Odoo POS allows orders to be printed directly from the table to the kitchen.
Enabling the Order Printer in the POS configuration allows users to connect the printer to an IoT Box and configure it within the database.

It also allows for the smooth printing of orders in the kitchen, increasing clarity and efficiency. You can view the invoice after the order has been completed and paid for, as shown below.

The invoice will be downloaded to the device, and the ‘Print Receipt’ button will be used to print the receipt on an external printer.
Monitoring and Reporting
Effective restaurant configuration goes beyond the first setup. Odoo 17’s POS module included powerful reporting and monitoring tools.
Restaurant managers and owners can use data-driven methods to optimize operations, increase profitability, and make informed decisions by monitoring sales, evaluating menu item performance, and analyzing consumer patterns.
The ‘Orders’ reporting field displays a graphical representation of POS orders, as shown below.

Odoo 17 POS is a user-friendly and comprehensive POS solution for the hospitality industry. It provides a smart blend of customization, organization, and technological integration, allowing businesses to design a personalized system that meets their needs.
The system delivers excellent customer service, streamlines operations, and makes data-driven decisions, making it a dependable and innovative solution for restaurants looking to improve their dining experience.
