Customers can easily initiate payments using their mobile banking apps by scanning the barcodes on Odoo 17 invoices. This streamlines the payment process and minimizes the likelihood of typing errors, which can lead to unexpected payment complications.
QR codes give quick and accurate invoice information in an e-invoicing system, removing the need for external sources. Odoo streamlines business operations by using additional capabilities easily accessible in modules. One such feature is the insertion of payment QR codes into invoices.
This helps to prevent errors in invoices that contain incorrect account information or payment descriptions, saving clients time and allowing them to pay their bills swiftly.
When enabled and configured in the Accounting module, Odoo allows users to add payment QR codes to invoices generated for clients in European countries where this feature is accessible.
This blog post describes how to enable and customize the QR code capabilities in the Odoo Accounting module.
Steps to Add QR Code to Odoo 17 Invoice
Step 1: Configuring QR-Code to Invoices
To configure QR codes in the Odoo 17 Accounting module, go to the configuration menu and select the settings option. Under the customer payments tab, select the QR codes and click the save button.

To add payment QR codes to invoices for clients in many countries, go to the Accounting module, select the ‘Configuration’ menu, then the ‘Journal’ option, and click on your bank journal.
You will see a dashboard with all the journals created in the Accounting database, along with their names, types, journal groups, short-codes, and default accounts.
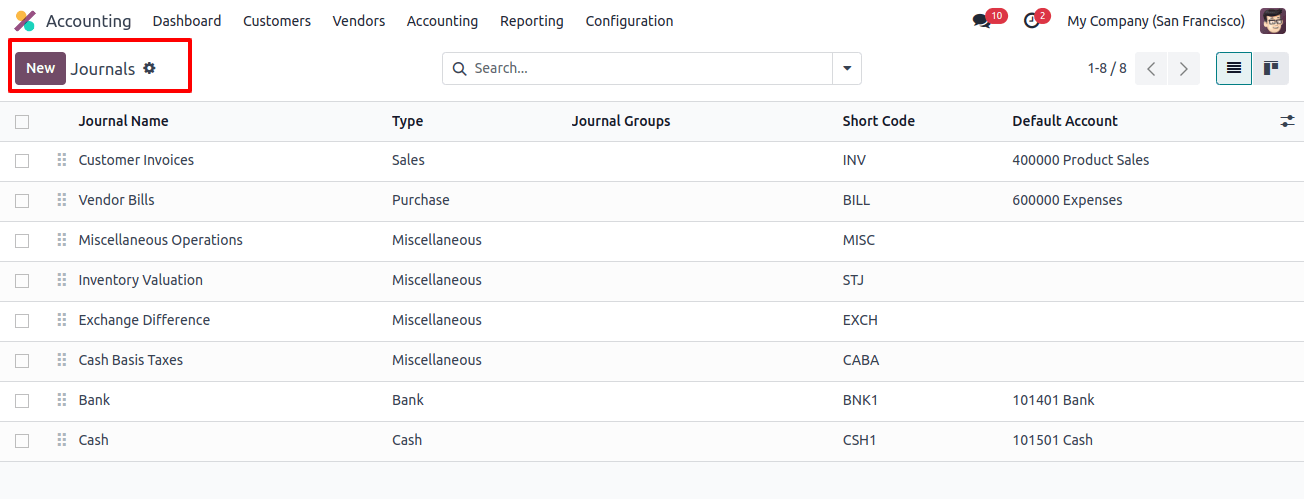
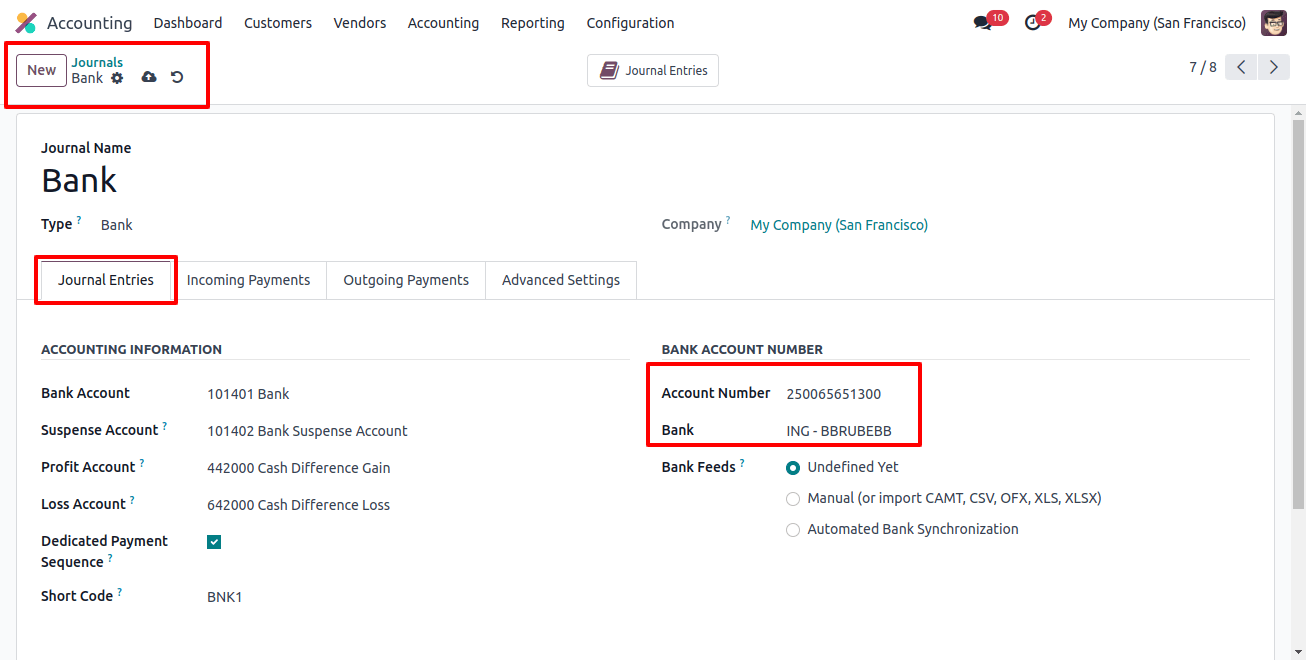
Then you can select an existing journal from the list view or create a new journal by clicking the ‘New’ button. I am selecting an existing journal called ‘Bank’ and opening its settings form. In your bank journal form, enter the ‘Bank’ and ‘Account Numbers’ in the designated fields as indicated below.
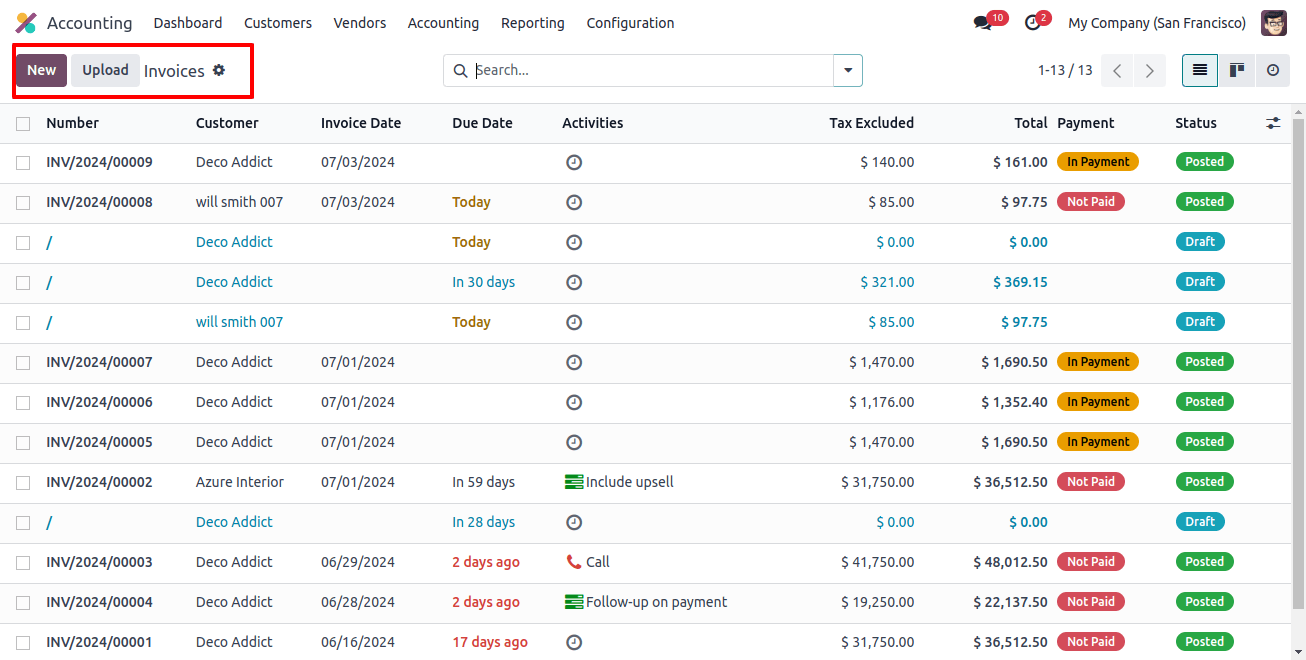
Create a new invoice by selecting the Invoice option from the Customers menu in the Accounting module.
Step 2: Creating an Invoice with a QR Code
To invoice a client, select the ‘Invoice’ option from the ‘Customers’ menu in the accounting module. The invoice dashboard will provide the following information: invoice number, customer, invoice date, due date, activities, tax excluded, total, total in currency, etc.
Proceed to create a new invoice by selecting the ‘New’ option and entering the customer’s name, delivery address, invoice date, payment reference, terms, and journal information.
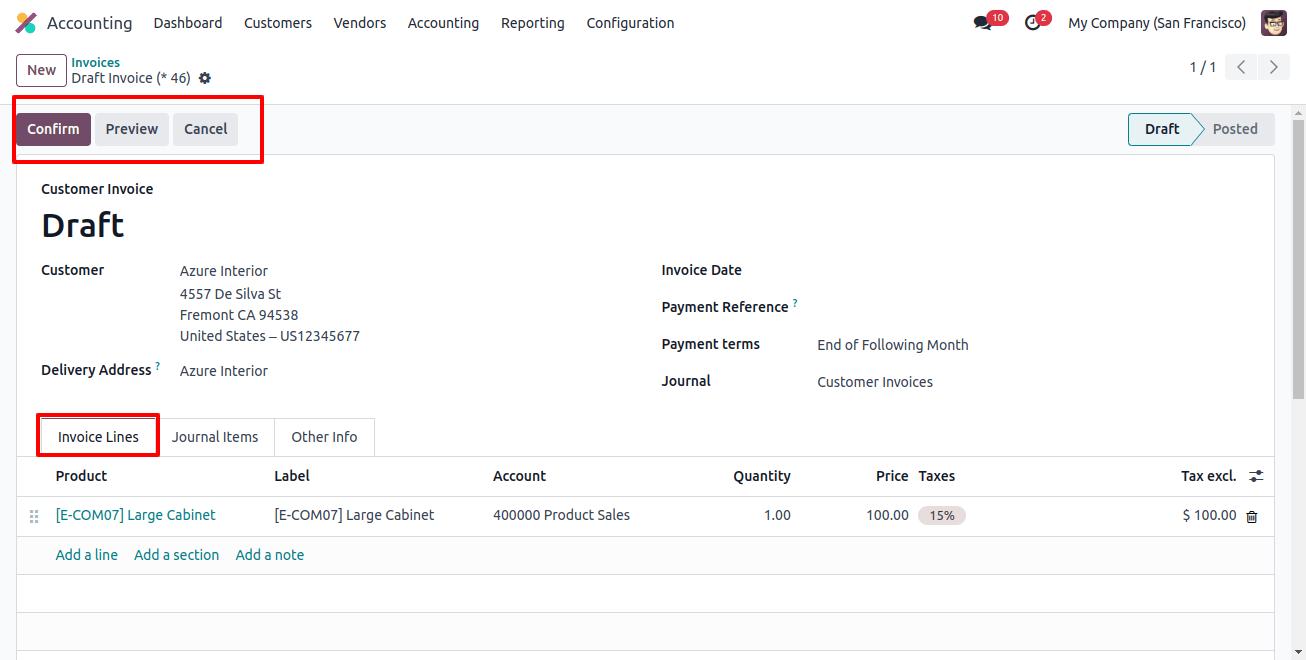
To add invoice products, click on the ‘Add a Line’ button located in the ‘Invoice Lines’ tab field. On the ‘Other Info’ tab, select the ‘Payment QR-Code’ section to specify the type of QR Code used to pay the invoice. Leave this field blank to use the first available module.
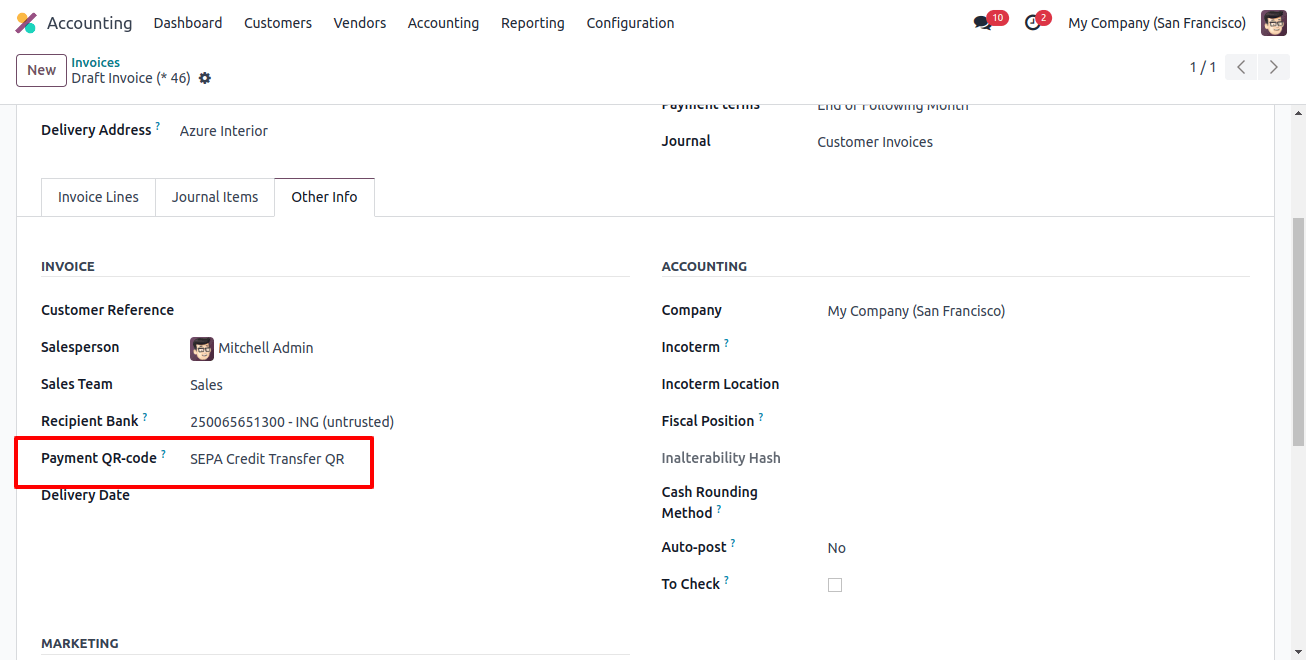
Then fill out the remaining form fields required for billing purposes. After inputting the necessary information, click the 'Confirm' button to authenticate the modified invoice.
You will now notice a ‘Preview’ option that will lead you to the customer’s perspective, which they will access through the customer portal.
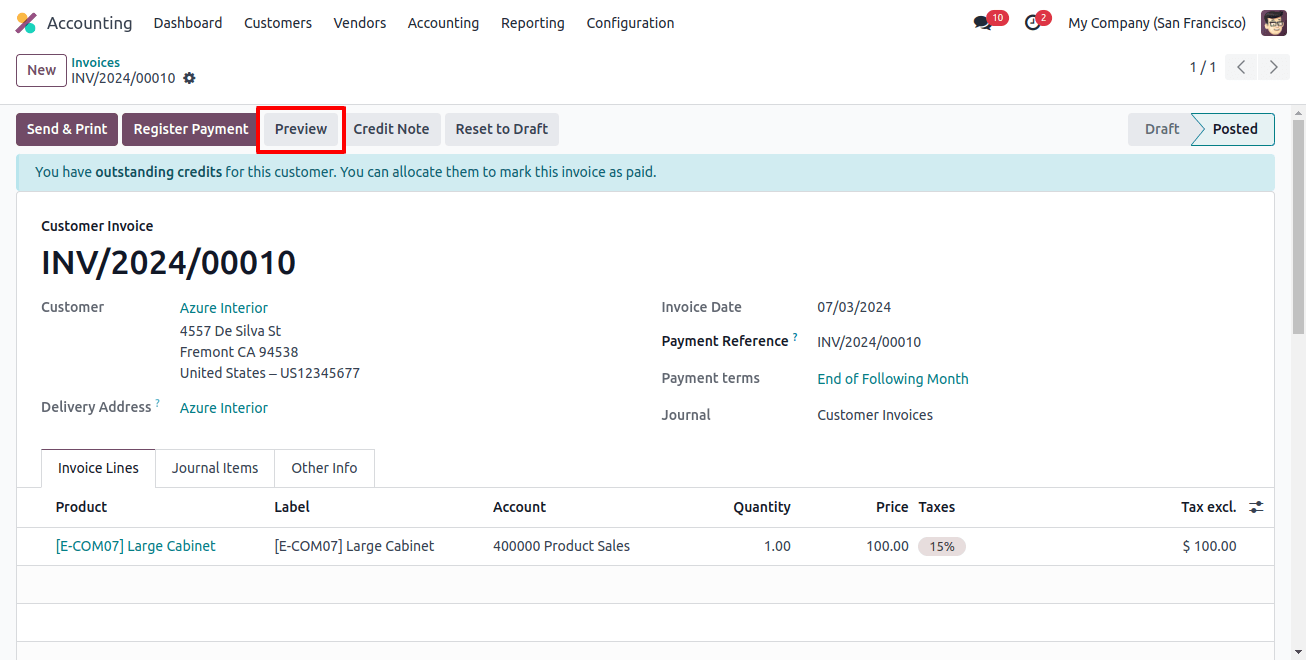
The ‘Preview’ button will open a preview of the QR codes.
The Odoo 17 Accounting module has an automatic QR code on invoices that clients may scan and pay using any banking system. The invoice can also be printed using the QR code.
This simple solution requires only a few minutes to set up and benefits both the client and the business. This feature is very useful for clients who choose the print option.


