This will also help you develop and execute new company strategies to boost revenue. With Odoo 17 POS, you can achieve this by automating several accounting tasks, which can help you save time and money.
Many of the account administration tasks can be automated using Odoo 17 POS, which could save you time and effort. As a result, you will have more time to focus on other aspects of your business.
By creating accounts for partners, products, default accounts, and journals in payment methods in Odoo 17 POS, you can improve the accuracy, efficiency, and scalability of your accounting processes.
This could help you make better business decisions and ensure the financial health of your business.
You can configure the accounting details in the POS module’s configuration settings by going to the accounting module.
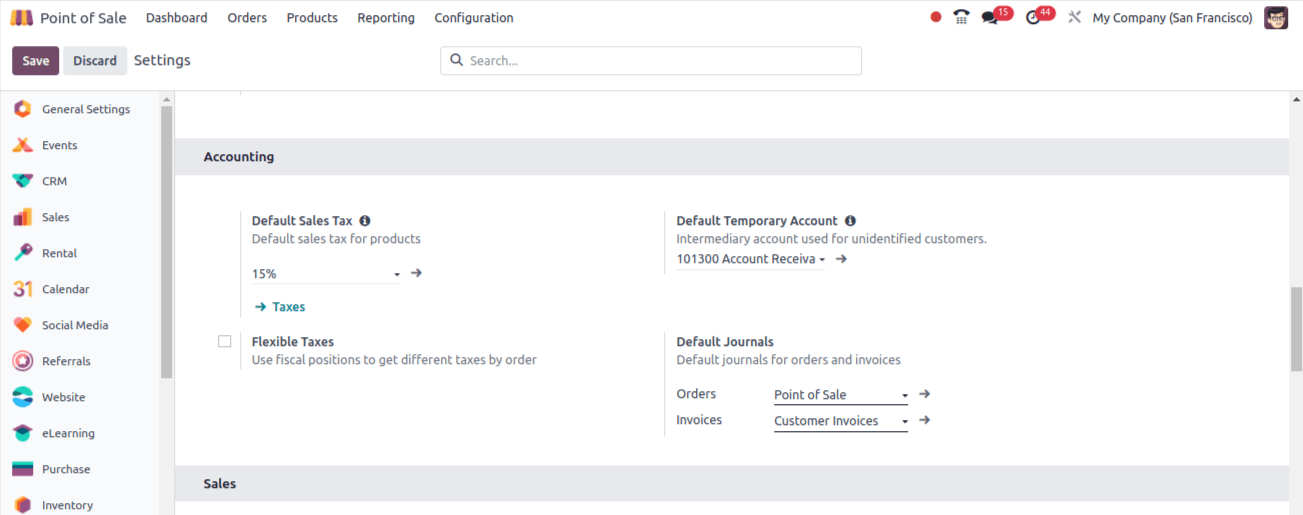
Here is where you configure the complete accounting module for your POS module. By choosing the default Journals option, you may set up the account for your invoices and orders.
An entry order that hasn’t been invoiced is made in the designated journal found within the Orders field each time the session is closed after the orders’ journals have been set.

All orders without invoices will be included in this journal, which should be classified as miscellaneous. Let's examine how the diary entries are included in the Point of Sale session.

You may see that the payment is accomplished here in the absence of the invoice. Therefore, after the session closes, the entries will be added to the journal you select in the Orders section.

The invoiced entries will be added to the journals you designate in the "Invoices" column, where you can create accounts.
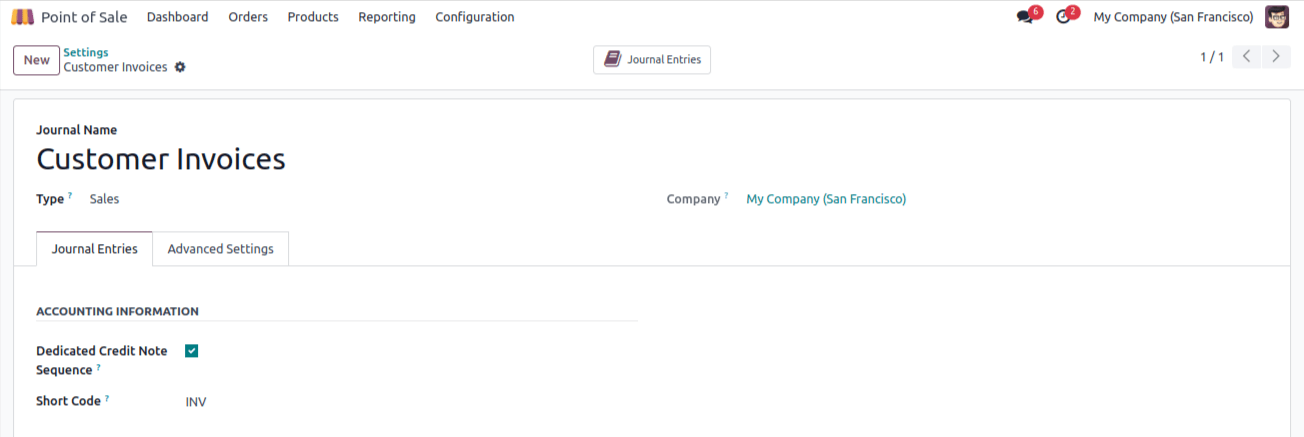
As you can see, the journal type is sales and you have chosen to use the orders’ default income account. Let’s look at the variations between the entries and the invoiced orders.
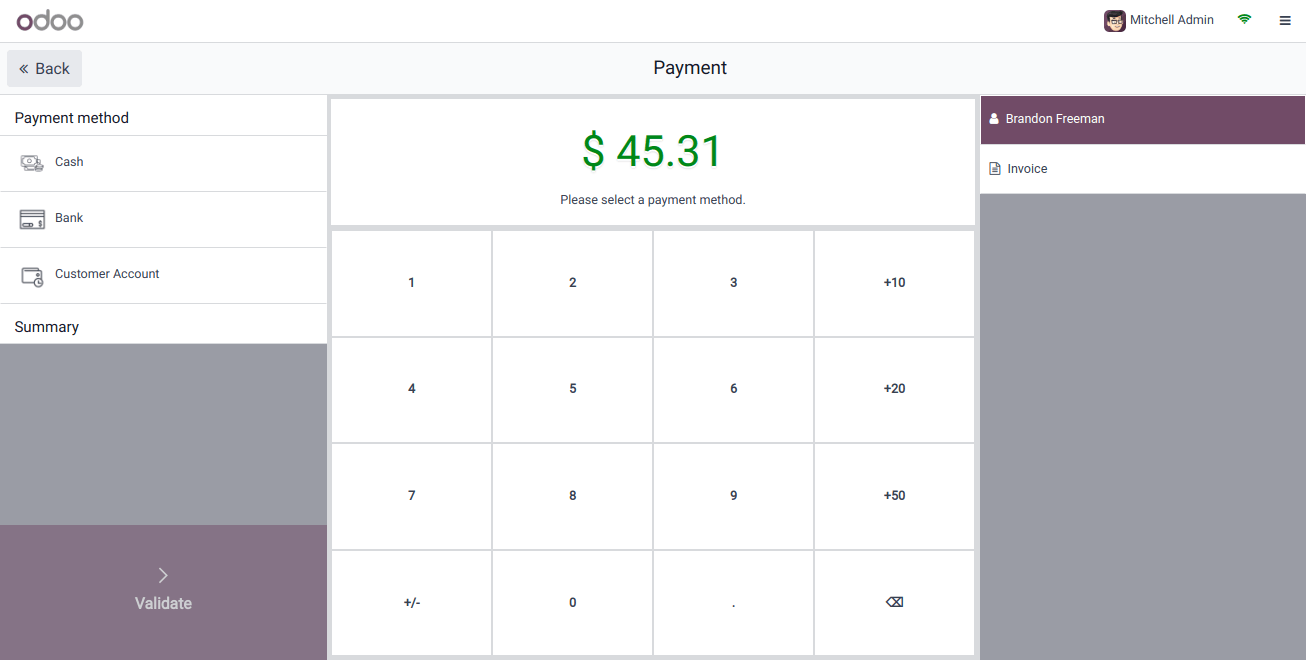
As you can see, following full payment of the invoice, the journal entries are created inside the journal you supply within the invoice journal.
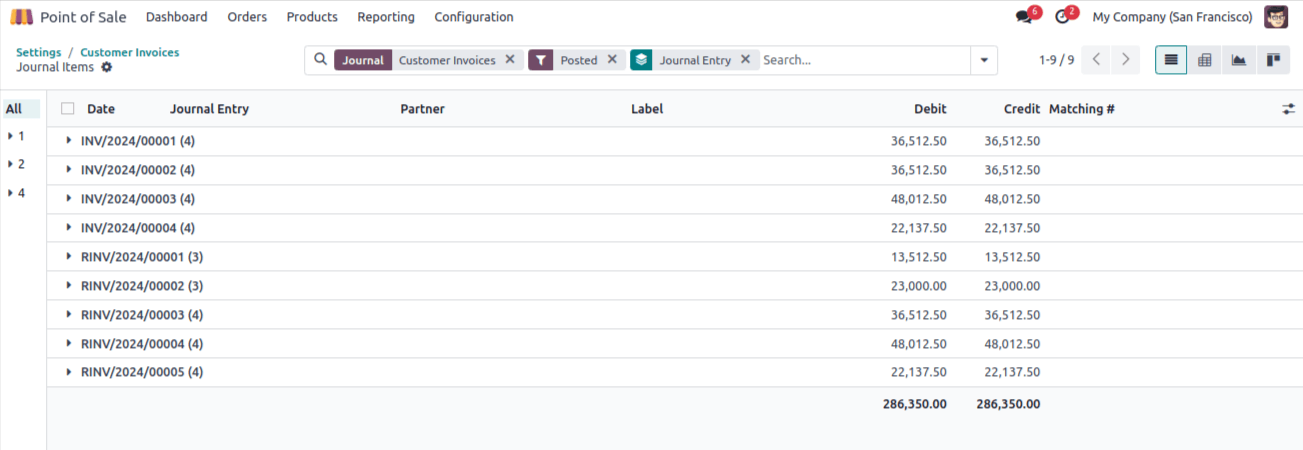
This makes it clear that the entries are made in the invoice journal using the journal you provide.
Maintaining separate accounts for invoices and receipts and two journals for orders combining invoices and receipts will help you improve the accuracy of consistency of your accounting records.
You can also set up an income account for the products. Right from the product form, you may modify the accounting options on the accounting tab.
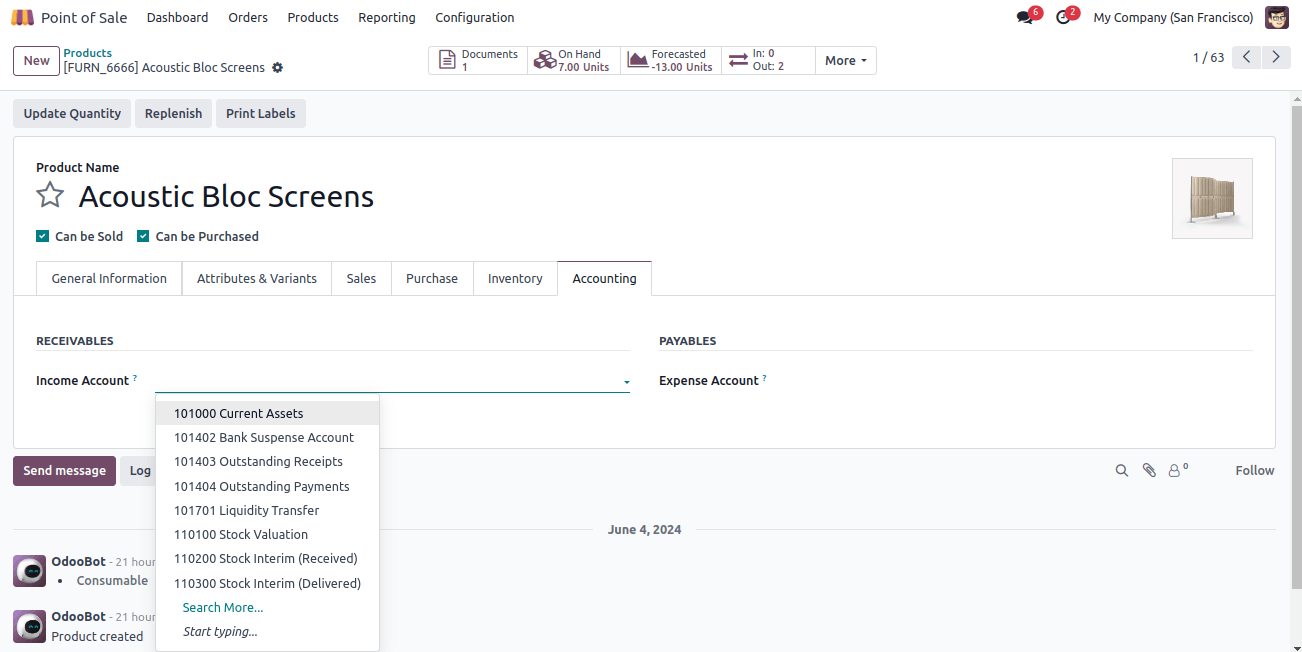
If you don’t specify any accounts within the product, Odoo will automatically select the default income account to enter into the journal.
You can choose the customer account on the customer form, as you can see below.
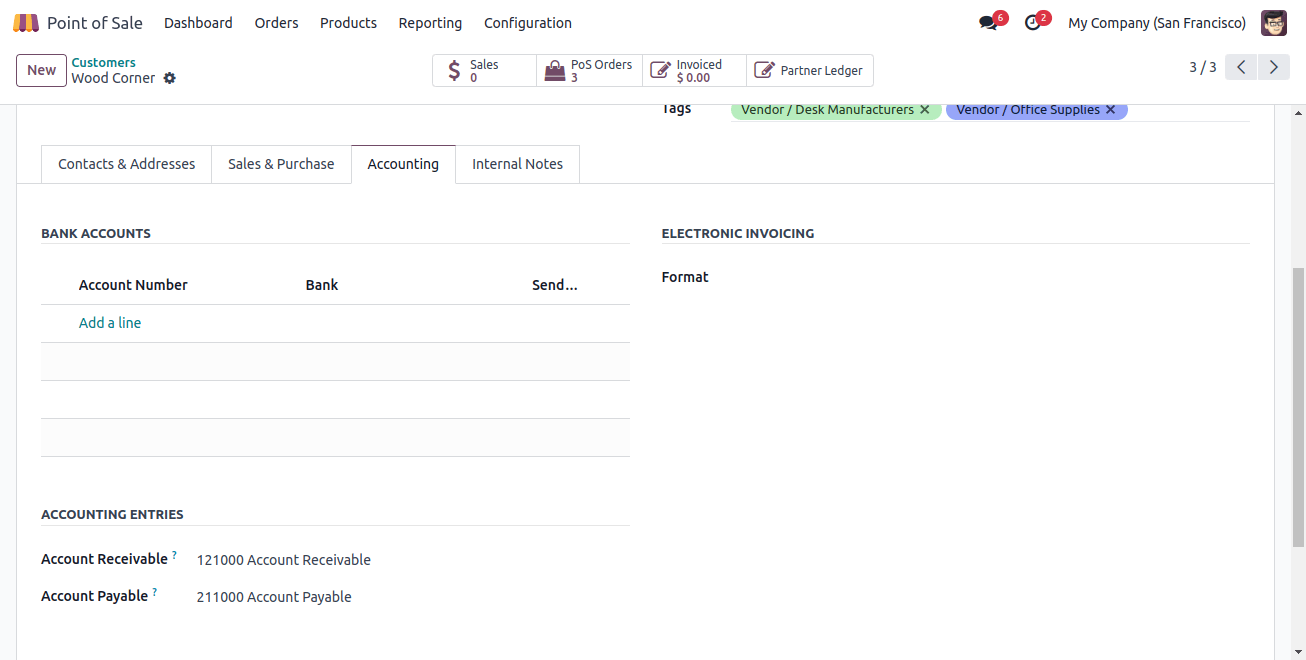
As you can see, the accounting tab has the customer account. Also, the receivable account can be configured inside the payment method.
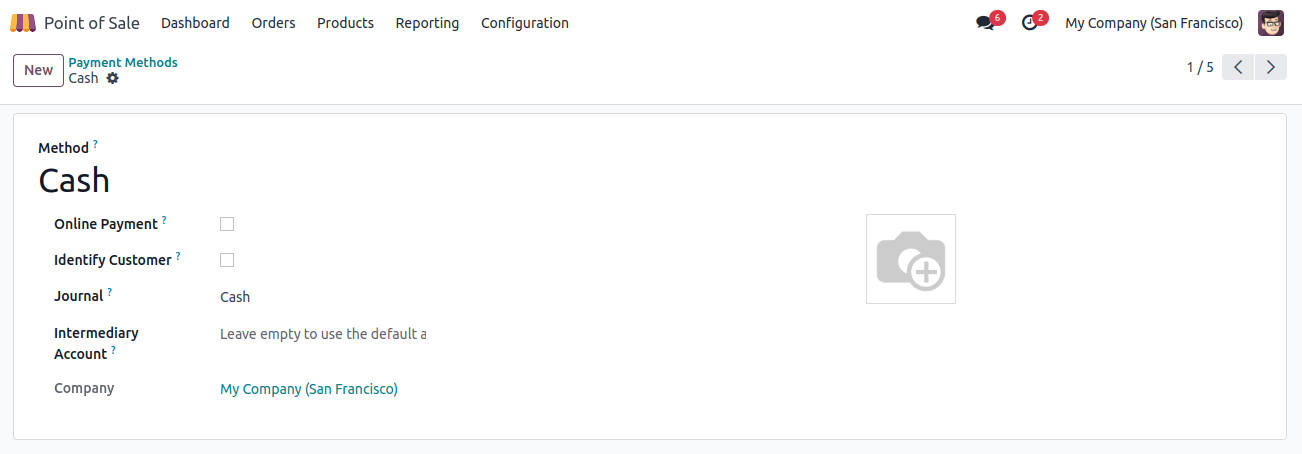
As you can see, the intermediary account was used to receive payments from customers. You can leave it blank to use the default account.
Orders placed with unidentified customers will be deposited into the temporary account that you designate in the Odoo 17 POS setup settings as the default.
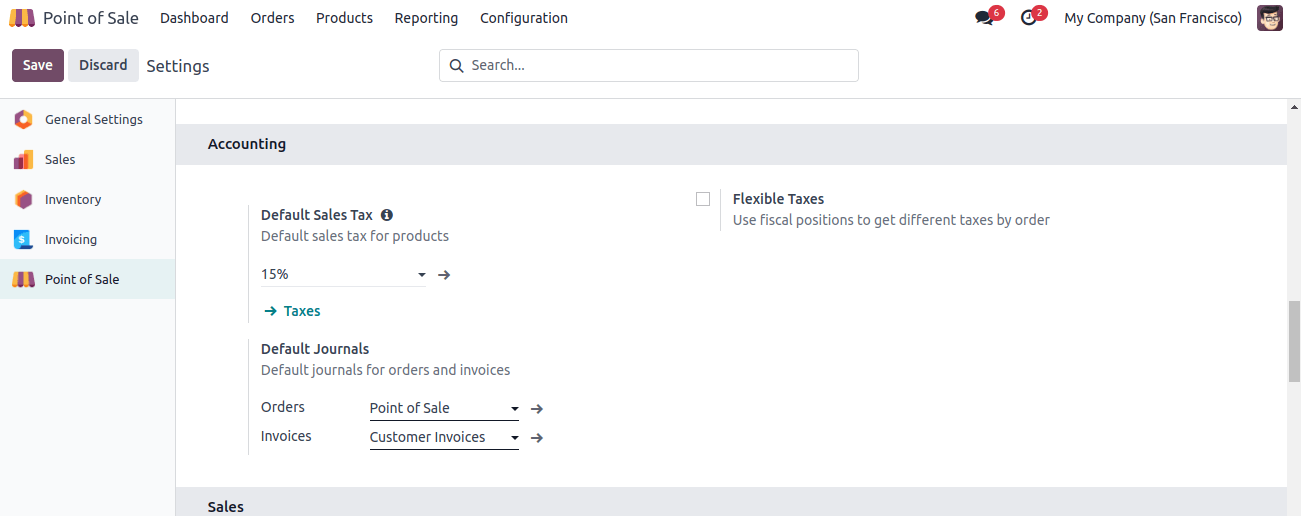
This intermediate account is used for anonymous customers when taking orders.
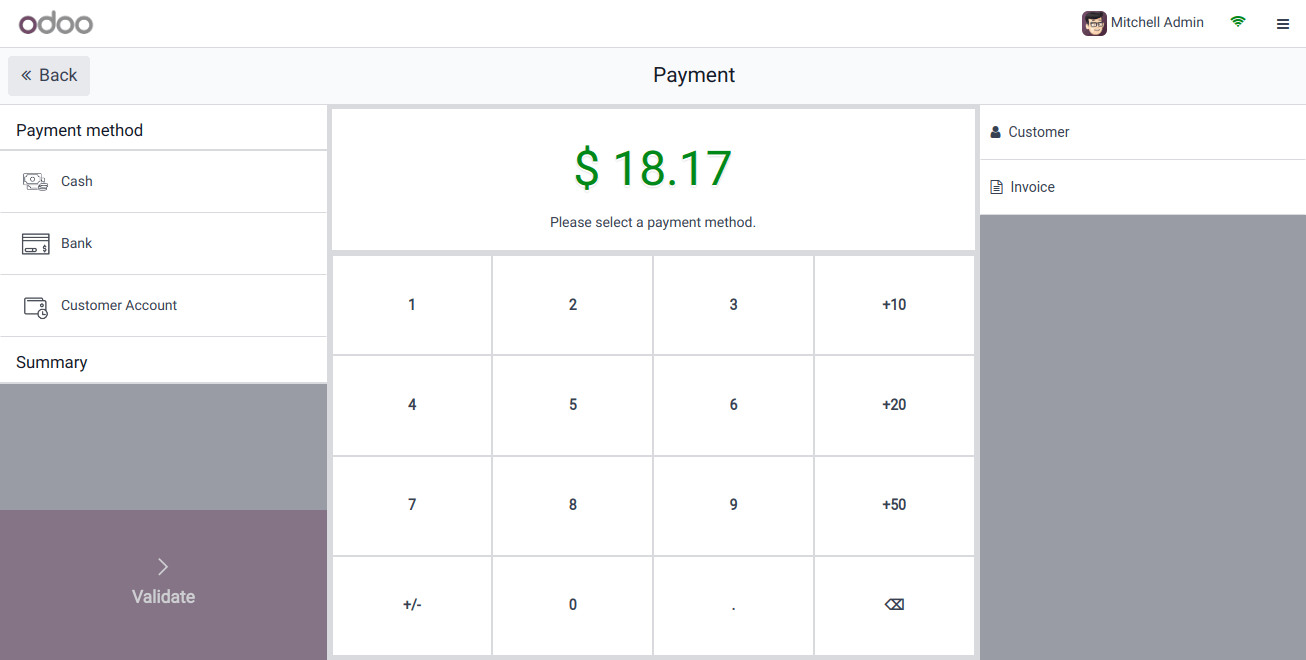
As you can see, the customer is not a part of the order stated above. Under these conditions, the entry will be added to the default temporary account that you configured under the POS’s accounting configuration.
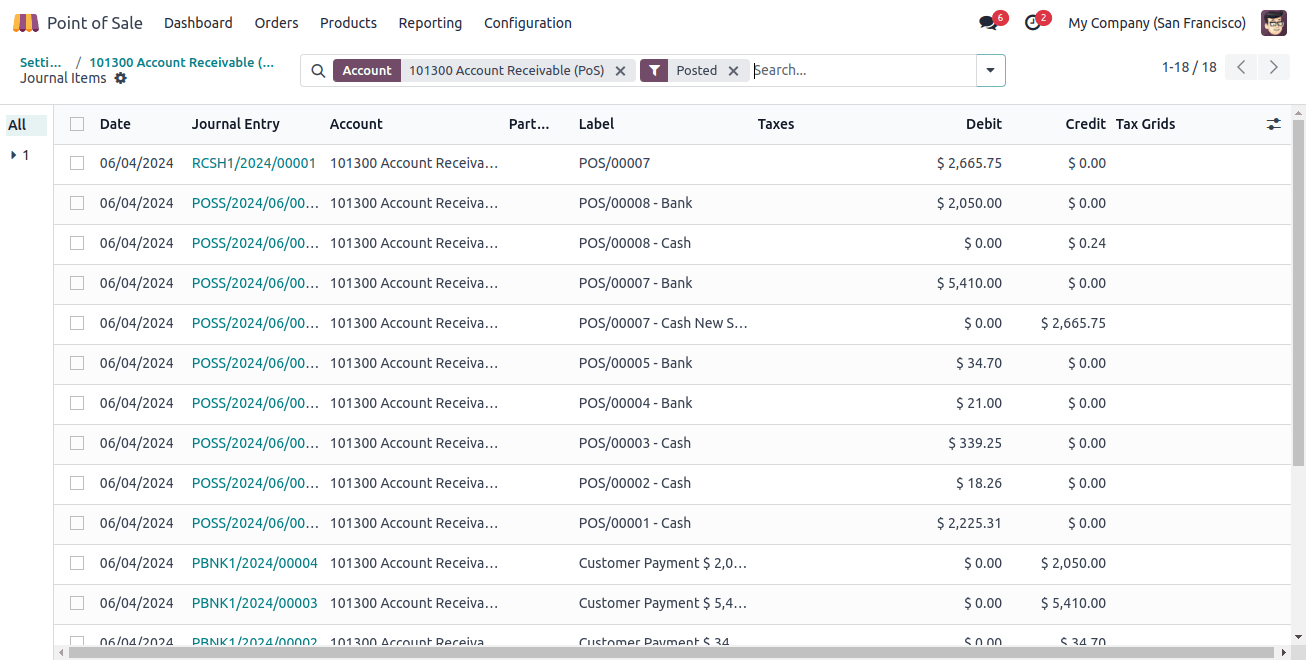
By tracking transient sales using a separate account, you can ensure the accuracy of your accounting records. This is because the likelihood of error is reduced.
Hence, the provisional account will be used exclusively for this type of transaction. In the accounting section, you can configure the tax for your country.
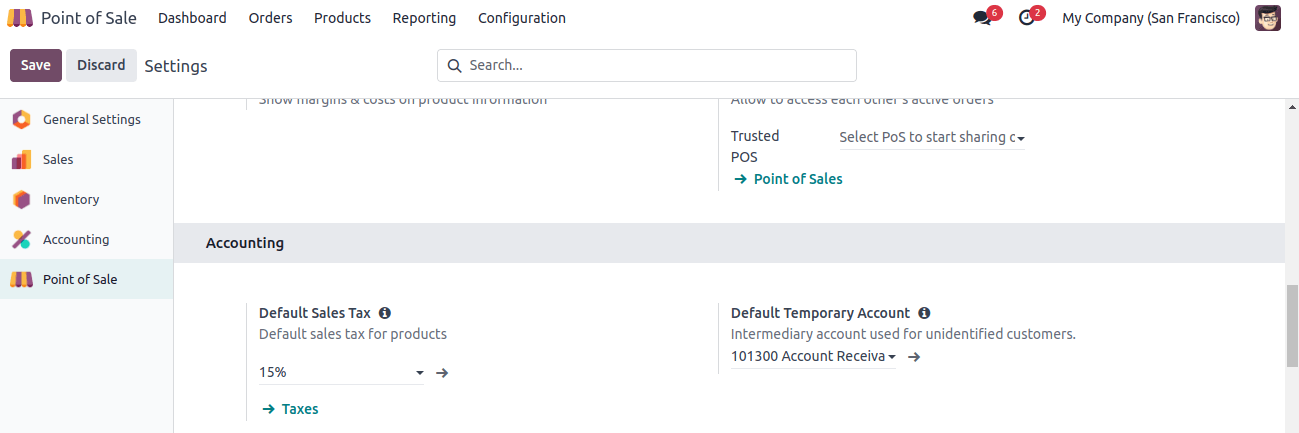
If it isn’t listed in the items, this tax will be considered for your order.
All things considered, managing accounts in Odoo 17 POS is an important task that might help you run your business more profitably and steer clear of expensive mistakes.
You should also make sure that the tax regulations in your country are followed, regularly back up your accounting documents, and keep correct accounting records.
When your accounting records are up to date-and precise, you can make better business decisions.
Payment Configuration
Many businesses are concerned about their sales. The customer's payment marks the completion of the sales process. These days, there are various options available for customers to pay their bills.
Cash on hand, bank transfers, credit cards, and other methods are some of the available payment methods. Customers are free to use anything we sell them. Therefore, a store or other such businesses needs to take a variety of payment methods.
Odoo 17 makes it easy for us to manage a wide variety of payment options. We employed a variety of payment options in Odoo 17. Cash, bank, customer accounts, and payment terminals are all accepted forms of payment at the point of sale.
Let's look at each one in isolation.
Options for payments can be set using the Odoo 17 POS module. Select the payment options from the setup tab to accomplish the following.

From there, we could see the payment methods that were generated and create new ones. Let’s talk about each one separately.

Cash
Cash payments are widely accepted and simple to use for all parties. When we sell a product using the cash payment option, the consumer can provide us with liquid cash as payment.
The screenshot below shows the name of the payment option: cash, Next, select the Cash payment option.
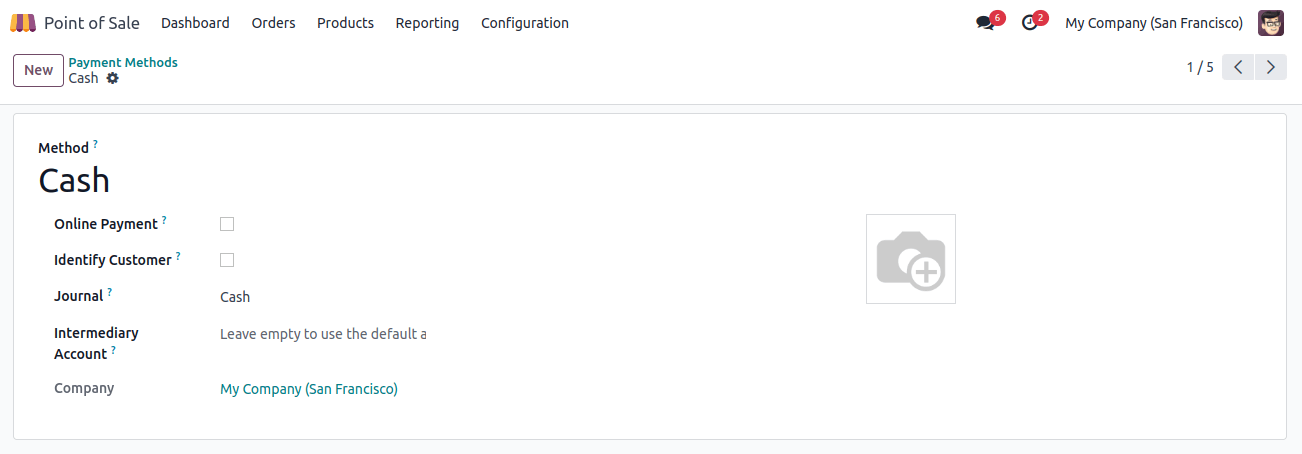
Because this name appears at the POS when choosing a payment option, users can see the method name when it is opened in cash. POS cash is the name of a diary. Here, a firm and an intermediary account may be named.
The user can designate a certain account to follow the transaction details through an intermediary account while using this payment option. If this box is left empty, the company’s default account will be used to store the payment details.
If the season requires the user to create a customer and divide the journal entries for each client while using this payment method, the identified customer action may be triggered. On occasion, though, it makes the shutdown process take longer.
Bank
Just as we are accustomed to cash, we are also accustomed to bank payments. You can use a bank transfer to pay them the amount that was invoiced.

Transferring funds from the customer’s account to the business’s account is possible. This page displays the most recent bank payment method that was developed. Let’s analyze it.
Here, "PoS Bank" is the journal, and "Bank" is the method name.
Here’s where you can create an intermediary account and an outstanding account. Mention the name of the company. In the event of a bank, payment terminals can be installed here.
Customer Account
Using a customer account is the next available payment option. It does everything a credit card does. Customers can choose to pay for everything at once when they purchase from us.
The receivable account will be used to record all transactions if the customer account option is chosen.

The method is known as a customer account, and to use it, the business needs to be added. To accomplish this, we need to create a client, therefore we turn on the identify customer field.
We have to leave the journal field empty since we want to record the transaction data in the Receivable account. Once all of the configuration is complete, save it.
Adding payment options to the point-of-sale session is the first step in the process. To achieve this, open the Configuration tab and choose Settings from the drop-down menu.
There, we may observe the ongoing point-of-sale sessions. The user only needs to click the + button to begin a new session.

The user can add payment methods for the current session by scrolling down to a portion of the Settings page. There is a Payment Methods option under the Payment section. Include all of the set payment methods there. Save the settings page after that.

Now let's begin our session. Three payment methods have already been established. We can pay sales orders using any of them. Start the Shop session from the dashboard.

The user has now joined the session. A little popup window asks you to fund the opening balance of the previous session when a new one begins.
The amount we have on hand at the start of a session is known as the opening balance, and it may be the balance from a prior session.
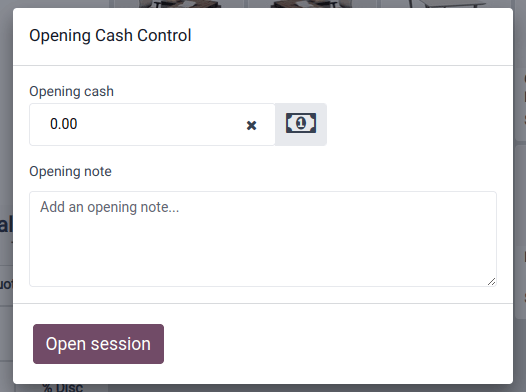
Let's analyze and talk about how to utilize the Cash In/Out feature. Make that choice.

Many people are employed in a shop. They could have continuous needs, like lunchtime transportation, so it might be possible to take money out of the register for a short while and give it back before it gets dark.
In this phase, we can take advantage of the Cash In / Out feature.
Assume a worker takes out $25 from the cash register to pay for his lunch.
Choose Cash Out since the funds will be removed from the counter. Add the sum and the explanation together. Since the money is taken out of the business account, a negative sign is immediately appended to the amount.
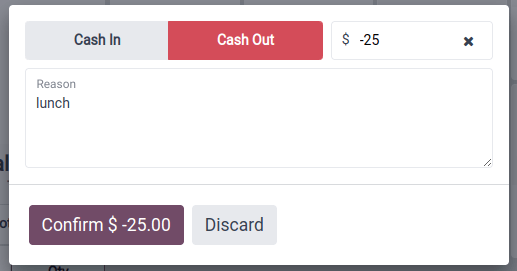
He returns the money after some time. To accomplish this, choose Cash In / Out again. Once more, the tiny window is visible. Select the Cash In option from there. Include the amount and the justification. It's been verified.
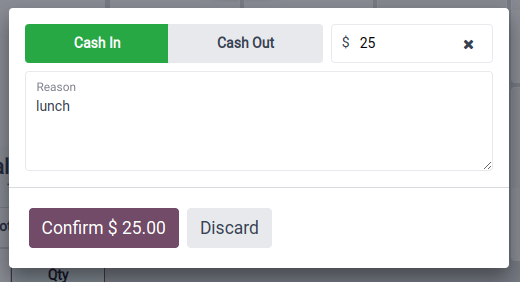
Next, let's look at how the customer pays for their orders in this session.
Customers made a selling order for Addison Olson, a client, for goods in a single batch. Pressing the payment button will take us to the payment counter.
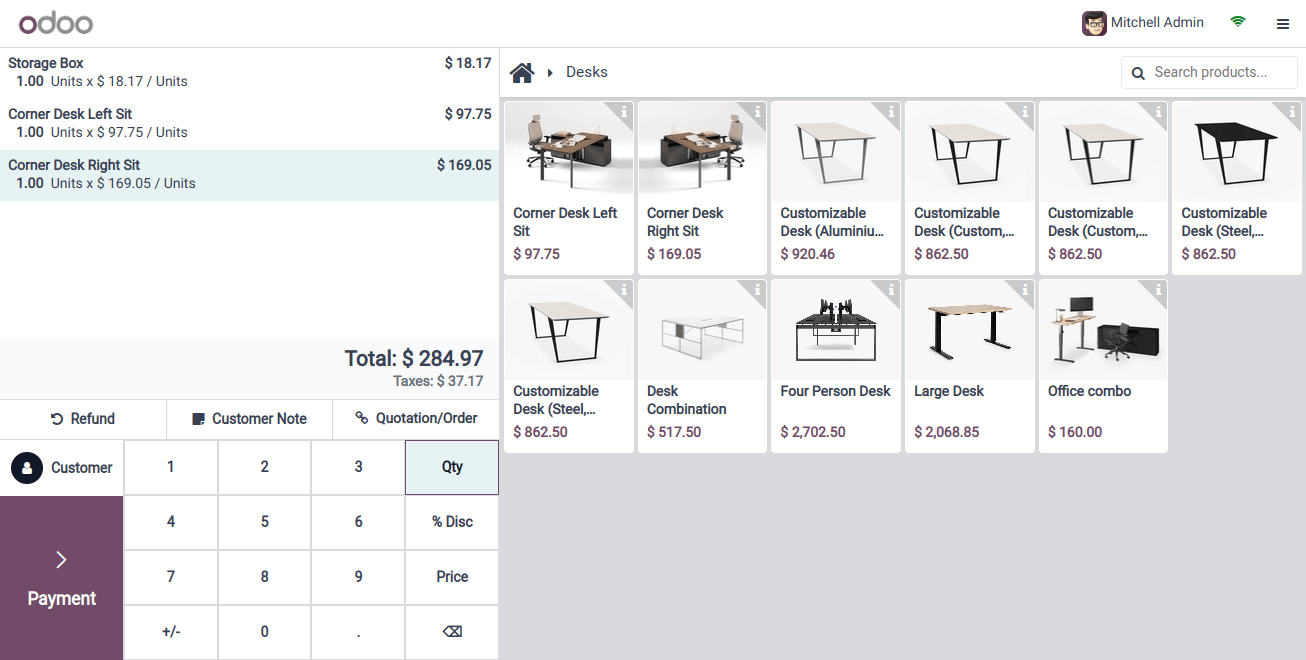
After that, we can decide on our preferred payment option.
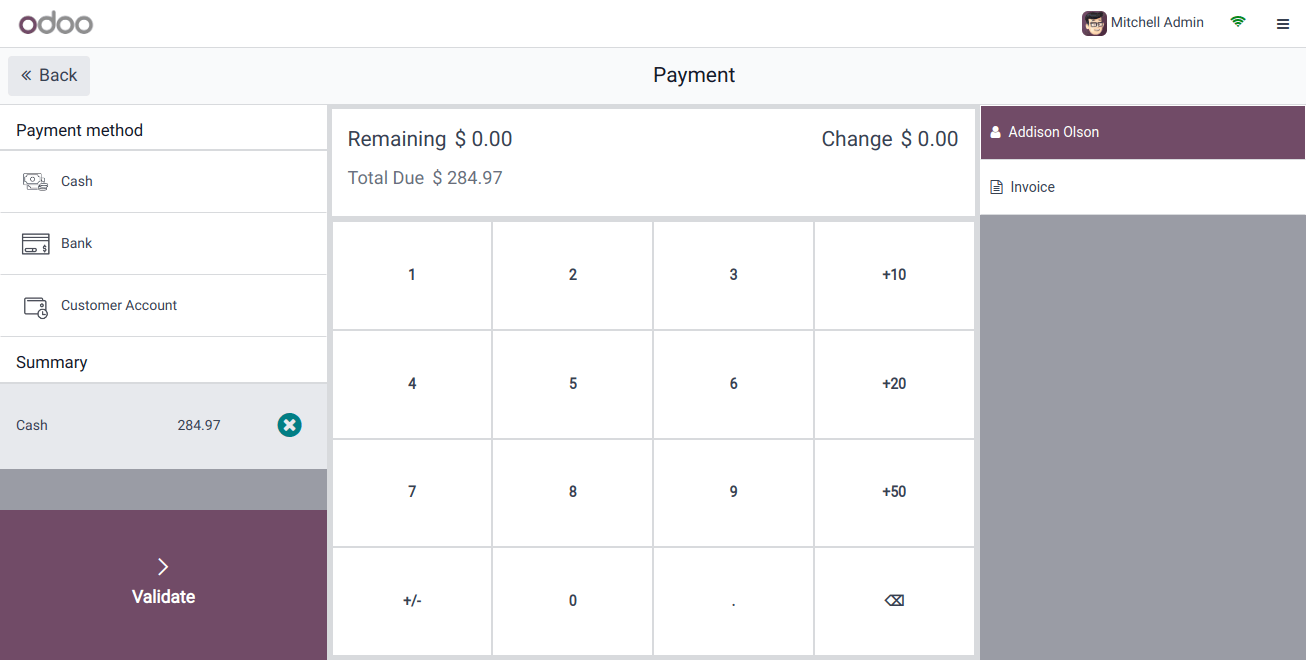
Before presenting our four methods, we developed them. Because he made his payment with cash, our customer chose the Cash option. The above photo shows the exact amount paid in cash, verifying the order. You may also create an invoice there.
Let's confirm the payment now that one isn't being generated as an invoice. A receipt will then show up. There are currently two options. One is used for printing the ticket, while the other is mailed.
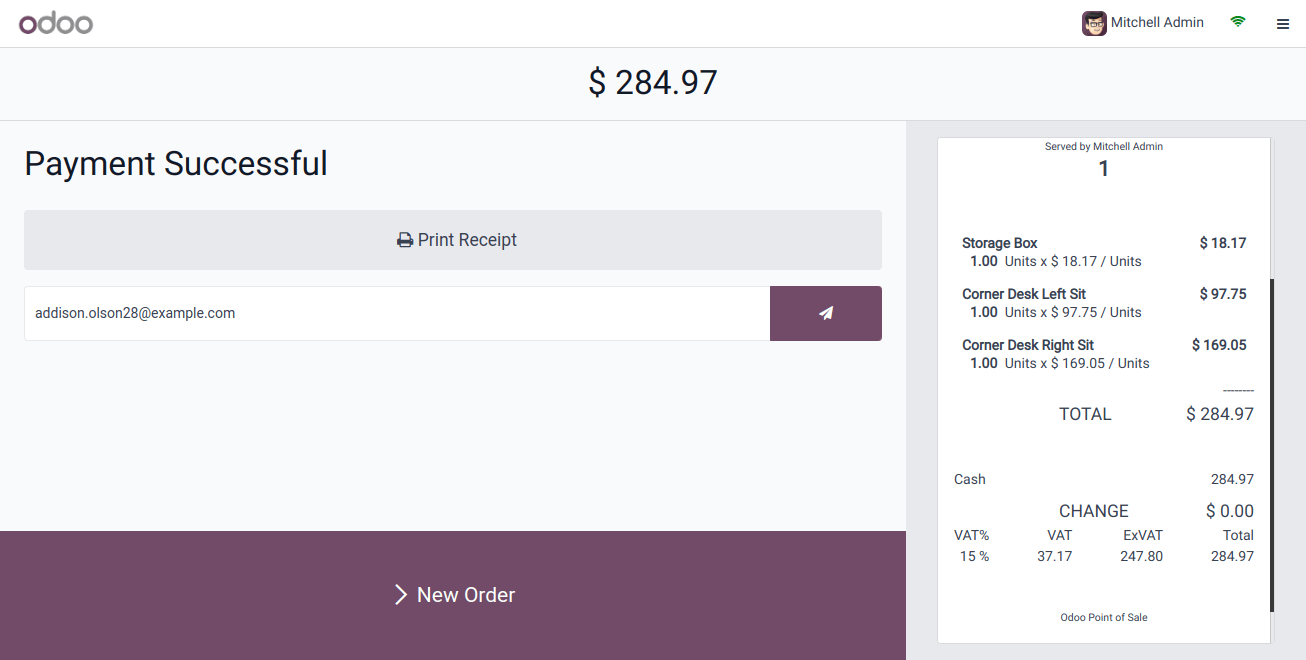
By selecting the New Order button, we can proceed to the next order after the current one is finished.
Now let's look at how to put the Bank's strategy into practice. After that, we will be able to draft a new order for a different client. Anita Oliver, our second client, received one of our Desk Stands with a Screen. On the "Pay" button, press.
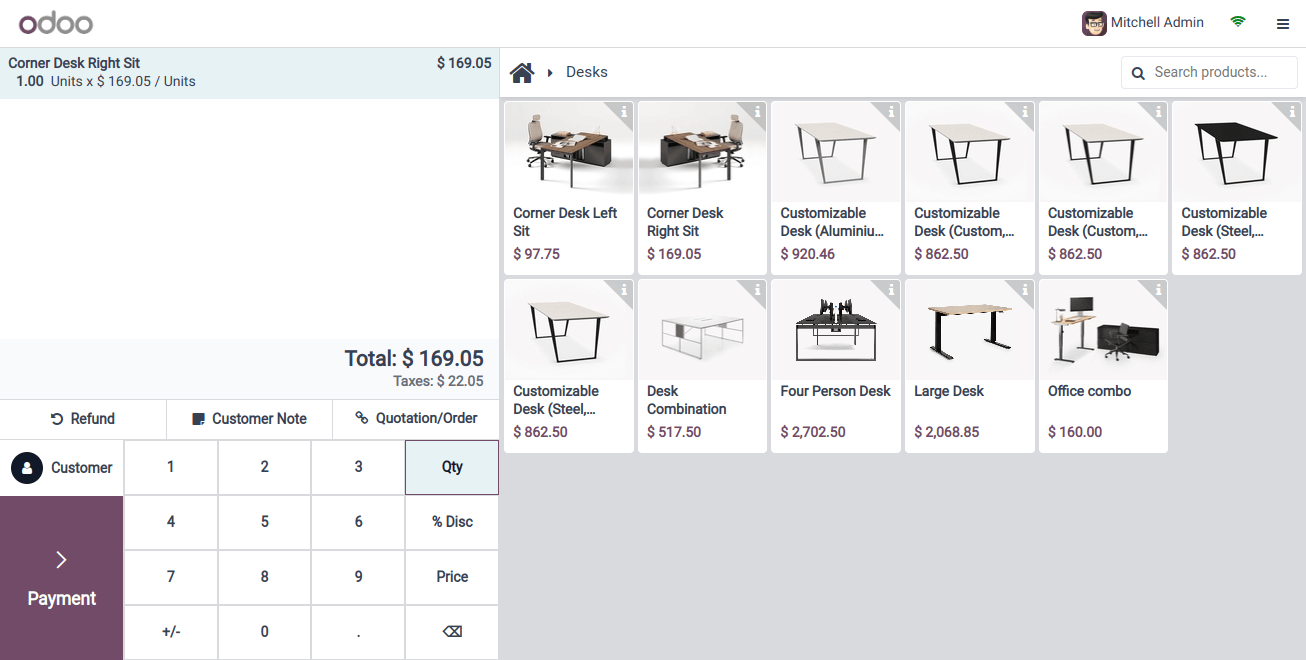
Select a bank from the list of accepted payment options. The payment will then be confirmed. At the moment, the full amount is being made through a bank transfer.
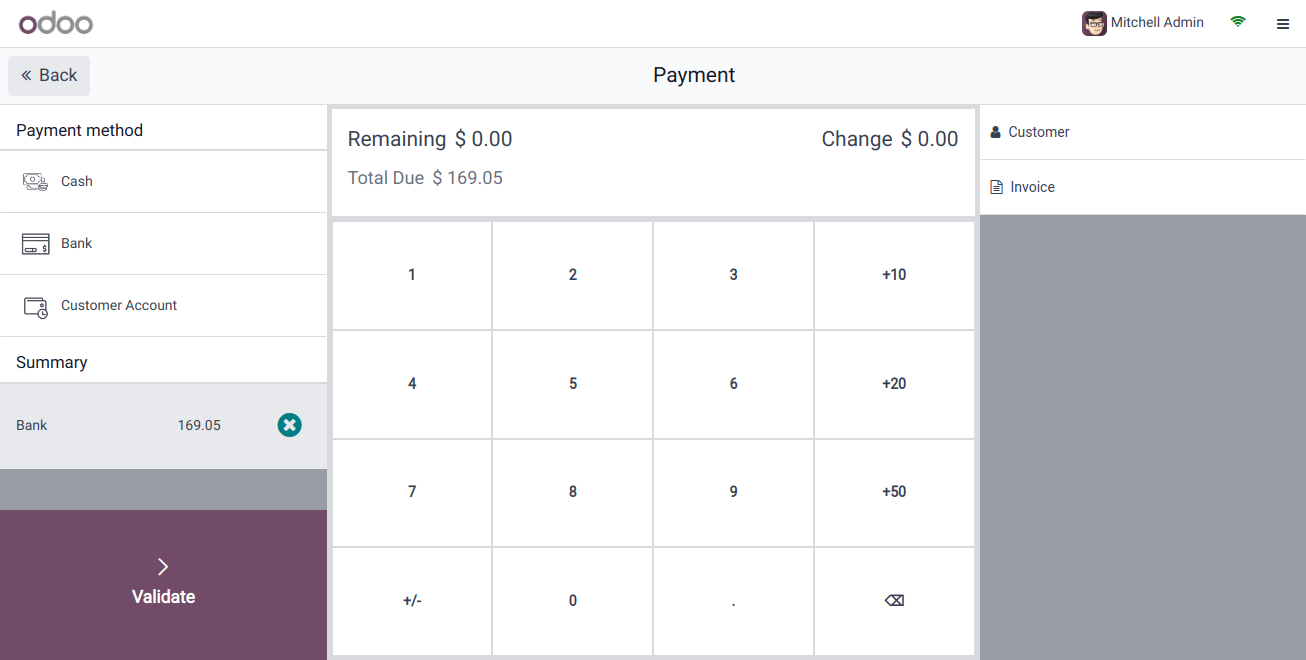
It now displays the receipt. Among the details are the kind of payment, the sum paid, the number of goods, etc.
By selecting the "new order" button, the next order will be chosen.
Choose the third customer to view the payment method Customer Account. We have sold ten storage boxes for a total of given, and James has been selected as our third client.
Now let's go with the payment and select to use the customer account for it. As previously said, the consumer utilized this credit card-like payment option rather than paying with cash.
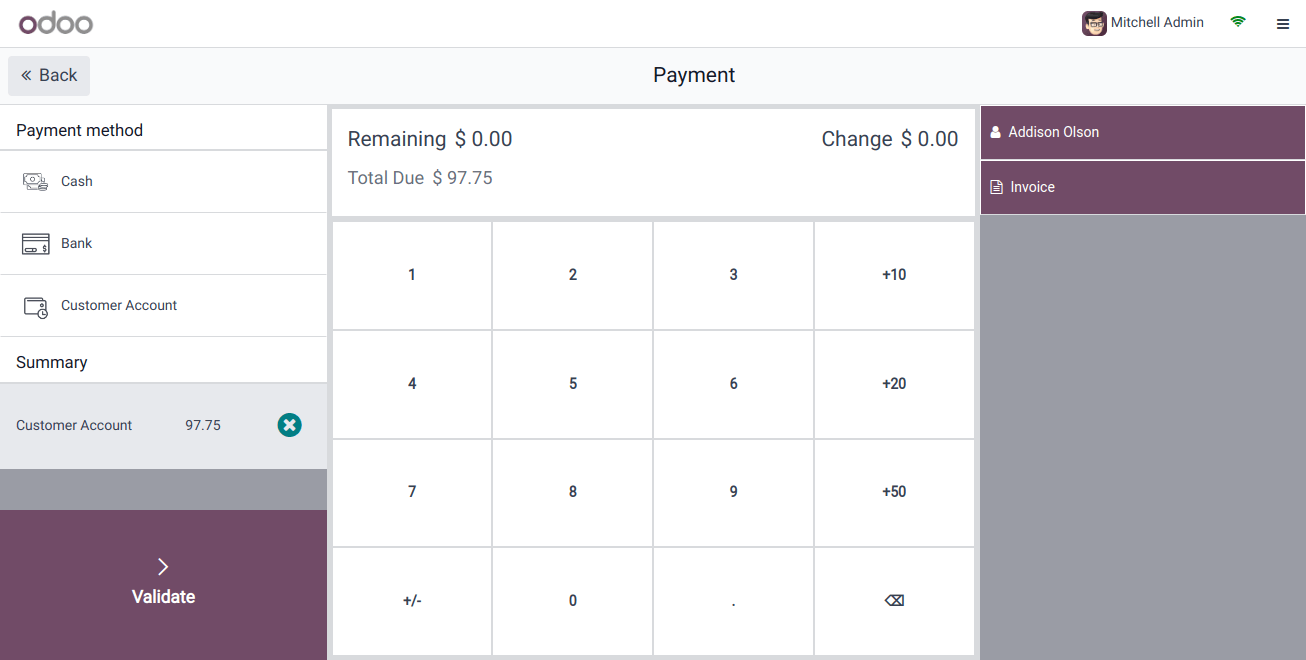
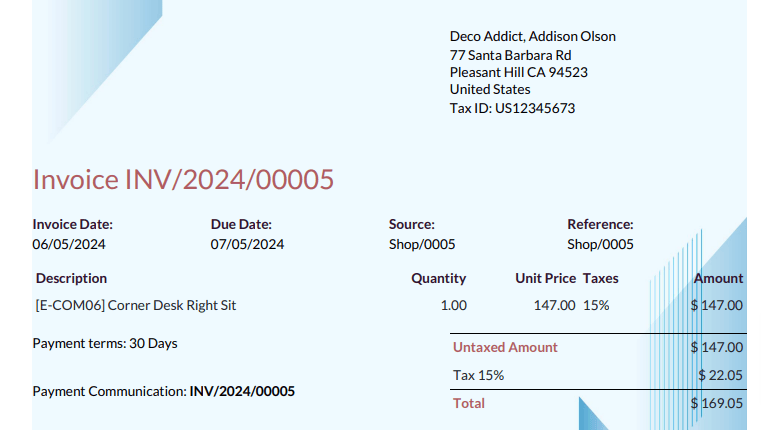
Let's draft an invoice right now. Click Validate after selecting Invoice from the list. A receipt and a back-end invoice are consequently produced. The receipt states that a customer account was used to make the payment.
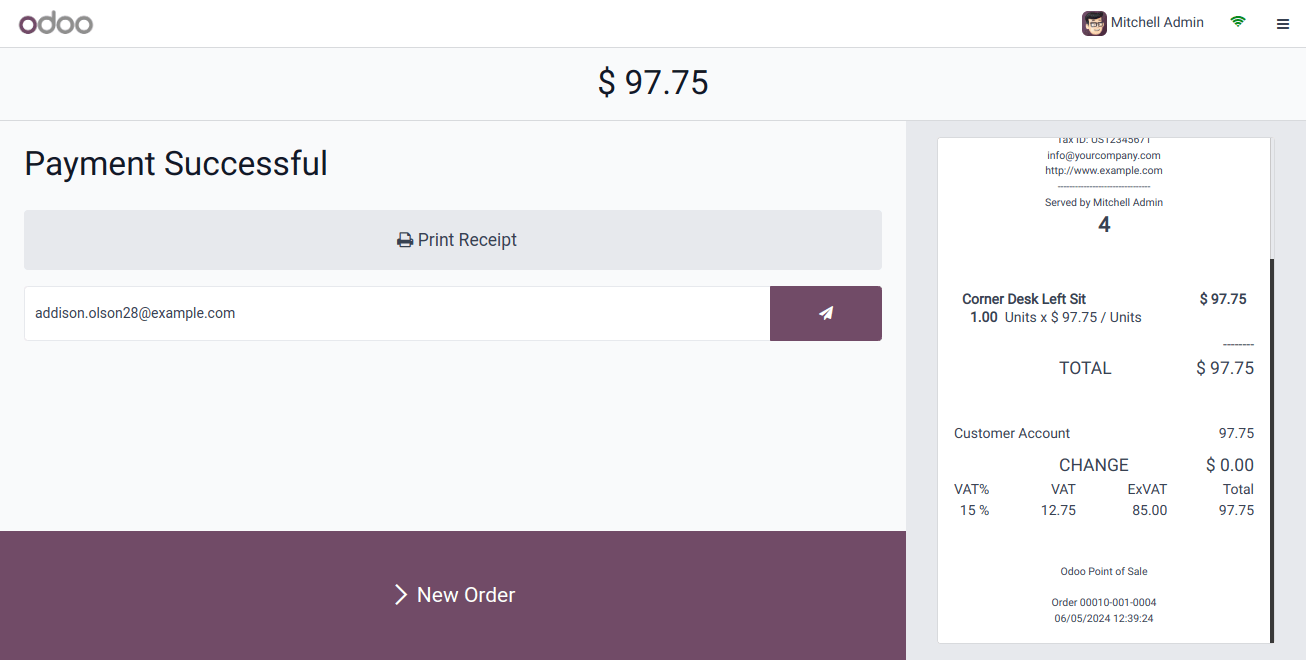
To switch to a new order, click the New Order button.
Let's choose another customer to make use of the Payment Terminal's fourth payment option. A new consumer, Beth Evans, has been selected.
He selected his options, calculated the total, and then clicked "Pay" to finish the transaction.
Businesses may offer customers a smooth and secure checkout experience by using the POS features of Odoo Services, which will ultimately increase sales and improve operational efficiency.

